ペットの編集
ペットを編集するプロセスは、ペットを作成するプロセスと似ています。
1. createPet.jsp をコピーします。
a. create.jsp を選択します。
b. 右クリックして「コピー」をクリックします。
c. 右クリックして「貼り付け」をクリックし、ファイル名を editPet.jspに変更します。
d. editPet.jsp を開き、createBean.create を createBean.edit に置き換えます。
2. editPet を登録し、情報ページで使用できるようにします。
a. この操作を Pet-actions.xml に追加します。
<action name="editPet">
<command class="com.ptc.core.components.forms.DefaultEditFormProcessor"
url="netmarkets/jsp/acme/pet/editPet.jsp" windowType="popup"/>
</action>
b. "情報" ページにメニューを追加します。
<model name="pet actions" menufor="com.acme.Pet">
<action name="editPet" type="pet"/>
</model>
3. 次の内容を acmeActionResource.java に追加します。
@RBEntry("Edit Pet")
public static final String PET_EDIT_PET_TITLE = "pet.editPet.title";
@RBEntry("Edit")
public static final String PET_EDIT_PET_TOOLTIP = "pet.editPet.tooltip";
@RBEntry("Edit")
public static final String PET_EDIT_PET_DESCRIPTION = "pet.editPet.description";
@RBEntry("edit.gif")
public static final String PET_EDIT_PET_ICON = "pet.editPet.icon";
4. wt.verification.Verifier を実装します (アクセス制御が設定されていないオブジェクトは、アクセス制御以外の方法で、不注意による (または悪意のある) 更新および削除から保護されます)。
a. 次の内容が含まれる PetVerifier を作成します。
package com.acme;
import wt.fc.Persistable;
import wt.fc.collections.WTCollection;
import wt.util.WTException;import wt.verification.Verifier;
public class PetVerifier implements Verifier {
@Override public boolean verify(Persistable a_object) throws WTException {
return true;
}
@Override
public boolean verify(WTCollection a_objects) throws WTException {
return true;
}}
b. 次の内容をsite.xconf に追加し、xconfmanager で適用することによって、PetVerifier を Pet の確認者として登録します。
<Service context="default" name="wt.verification.Verifier"
targetFile="codebase/service.properties">
<Option cardinality="duplicate" order="1" requestor="com.acme.Pet"
serviceClass="com.acme.PetVerifier" selector="DEFAULT"/>
</Service>
5. Windchill を起動/再起動します。
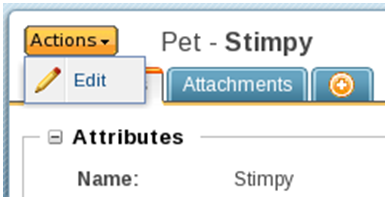
a. "情報" ページの操作として「Edit」が使用できることを確認します。
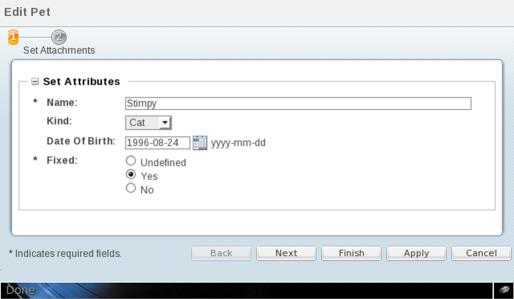
b. 編集ポップアップを検証します。
c. ペットを編集します。