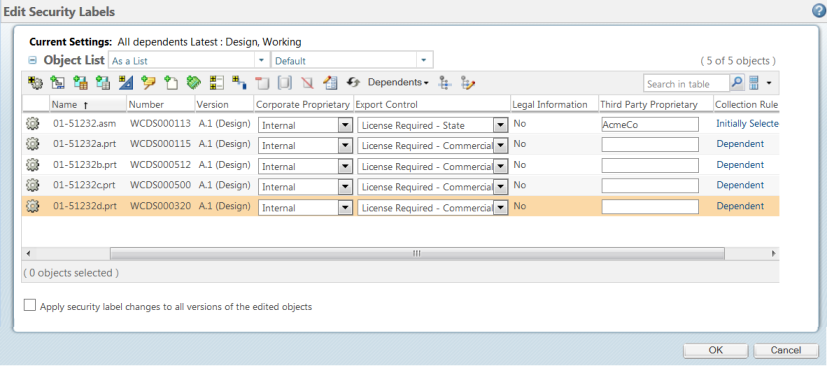
You can view the objects in the Object List table in multiple ways, including as a list, as a structure, and so on. Select a display from the drop-down list next to the table title to change the way the objects are arranged in the table. You can also set the > > > preference to determine the default display type for the Object List table. For more information, see Preference Management and Setting a Preference. Out-of-the-box, a Default view is available from the Object List table from the Edit Security Labels window. The Default view includes columns for object status, object identity, and all configured security labels (including disabled security labels). Administrators or users can create new table views to limit the number of security label columns that appear in the Object List table. If certain users only need to see a subset of the configured security labels, an administrator can create and share a new view with those users that has columns for only certain security labels. For more information about creating new views, see Creating and Editing New Table Views, Administering Table Views for the Organization, and Administering Table Views for the Site. |
 icon.
icon.When changing security label values, it is important to keep the following in mind: • Use care when setting security label values on an object. You can change the security label value to a value that restricts you from accessing the object after the change is applied. • If you clear all the values from the list and click OK, there is no change and the original values are retained. To set a Null value, select Null from the list. • If an object is checked out, be aware of whether you are changing security labels on the working copy or the original version of the object. Whether you are updating the working copy or the original copy of an object is determined by where the Edit Security Labels action was launched. For example, if you launch the Edit Security Labels action from the Checked-Out Work table, you are changing security labels on the working copy of the object. • If you are changing security labels on the original version of a checked out object instead of the working copy: ◦ The security labels in effect after the object is checked in will be those from the working copy. ◦ If you change a security label on the original object to a value that restricts access to the user who had the object checked out, then that user will be unable to check in the object. • It is not necessary for the object to be checked out to change security labels. If the only change you are making to the object is to change the security labels, do not check out the object. |