To add a new image
1. Copy the image to the following directory on the Windchill RV&S server:
installdir/data/public_html/images
where installdir is the path to the directory where you installed the Windchill RV&S server, and images is a subdirectory to contain the images. The image is now available for use in your template.
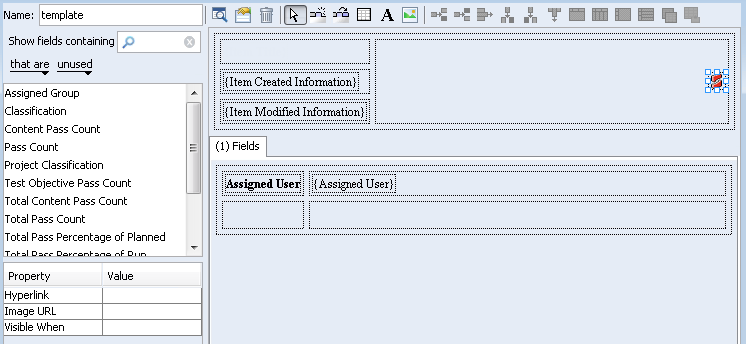
2. Click the image tool

on the toolbar and insert the image placeholder in the target cell.
3. In the Property pane, click the value field for Image URL, and enter the URL for the image location using the following syntax:
http:/<host name:port>/images/<image filename>
For example, the image file named corporate_logo.gif on the xyz-server would have the following URL:
http://xyz-server:7001/images/corporate_logo.gif
If required for the Visible When property, specify a value to control the visibility of the image. To set a value, click the associated value field. For example, if the image should only be visible when the assigned group is visible, select Assigned Group. The image is placed into the target cell on the template.
The hyperlink property specifies that the image be represented as a hyperlink. For example, you could specify the URL to a Web site, or an E-mail address to be contacted at.
4. To save your changes, click Save.