Workflow Template Editor
The workflow template editor is a graphical interface that allows you to define a business procedure and save it as a workflow template.
You can access the template editor from the workflow Templates table. Select the New template or Edit actions.
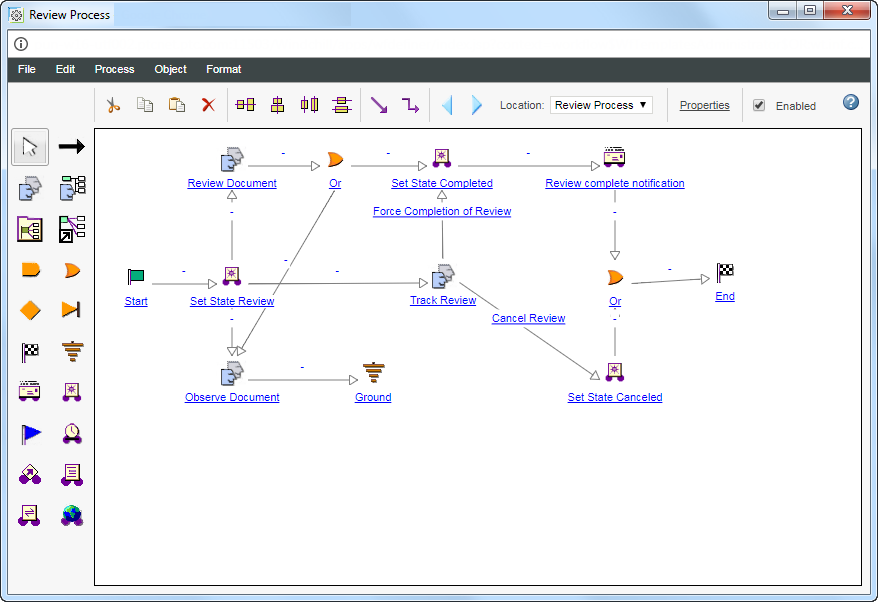
| A block icon  indicates that there is a subprocess within the template. Click the block link to open the subprocess. You can use the Back and Forward actions to navigate between a parent workflow template and subprocess template. You can also use Location menu to navigate directly to the subprocess in your history. For more information, see Workflow Activity Block. |
Graphical Interface
You can perform the following actions in the interface window:
◦ Click and drag nodes to rearrange them.
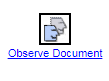
◦ To view the properties of an element, click any link or arrow. You can also double click elements to view their properties.
◦ Click icons once to select the node. If you press Ctrl as you click icons, you can select multiple nodes at once. When multiple nodes are selected, you can use the alignment actions to change the layout of the interface.
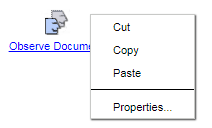
◦ Right-click nodes and connectors to view an actions menu:
| When working in the graphical interface, ensure the pointer icon  is selected in the node panel. The pointer icon is the default selection and indicates that clicking within the process map does not add new process nodes. |
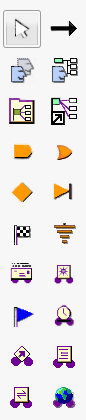
Node Panel
The node panel displays process elements you can add to the template.
To add a node to the graphical interface, click the node in the panel and then click any open space in the graphical interface.
Action Menus
Use the editor actions to navigate between subprocesses and align nodes in the graphical interface. For a definition of each action, see
Workflow Editor Actions.