Select Attachment Definitions
This topic describes the Select Attachment Definitions action available from the workspace. Ensure that the design is checked out.
To access the Select Attachment Definitions action:
1. From the design’s information page, select > >
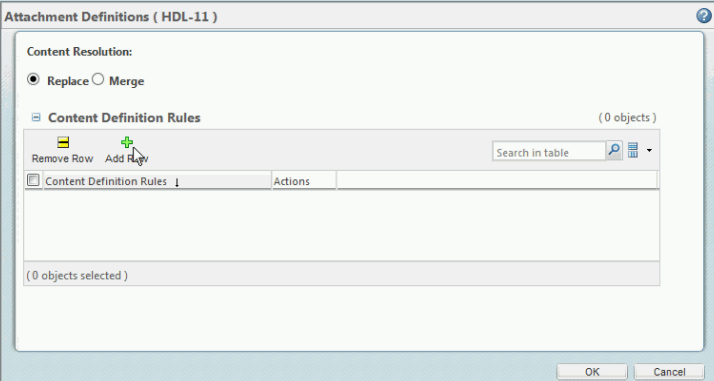
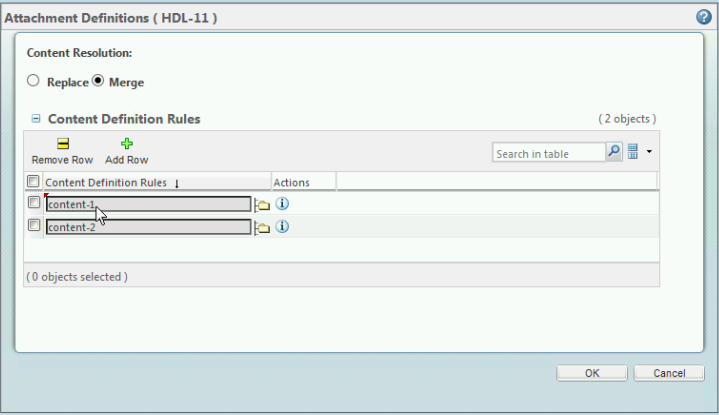
The Attachment Definitions window opens as shown in the following figure.
2. The
Replace option is selected by default. Click the
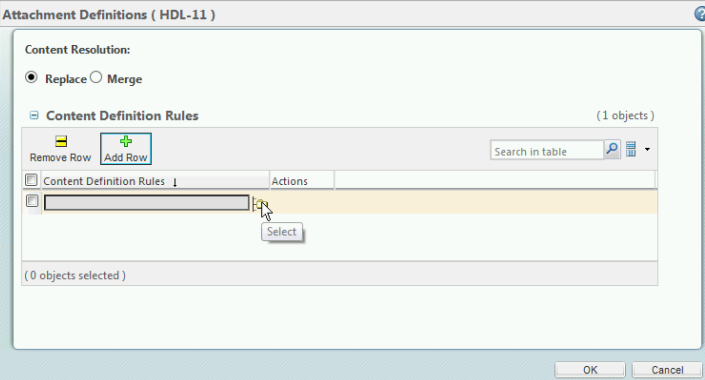
Add Row icon

, and then the folder icon to search for a content definition.
3. Select the content definition and click OK.
The definition is added to the row.
4. From the design page, select the information icon

. Click on the
ECAD Check In action and check in the design.
5. From the design page, select the information icon

. Click on the
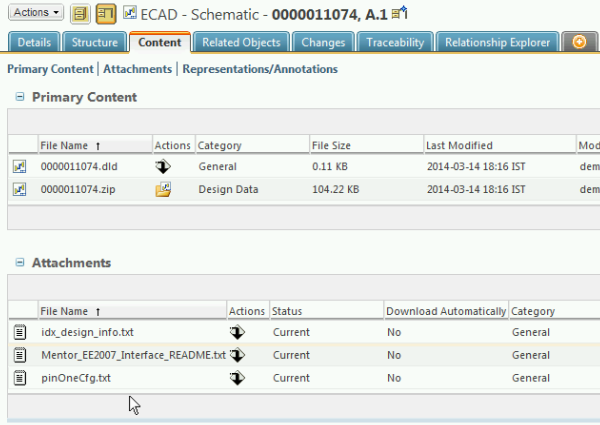
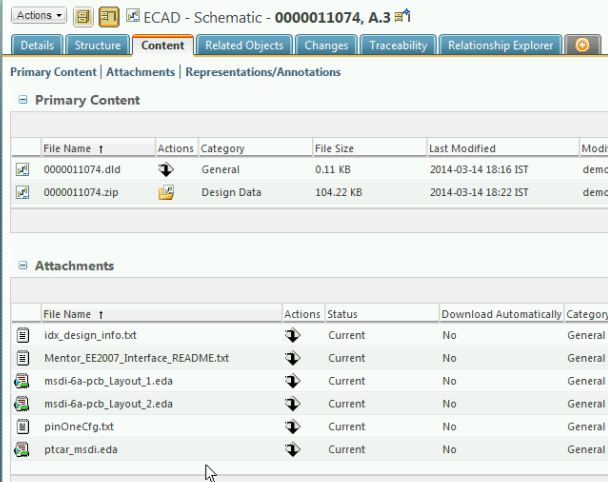
Content tab. The information is added for the design under
Attachments.
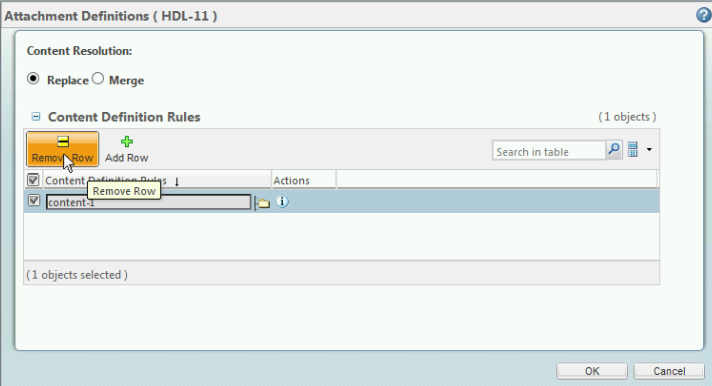
6. To replace the definition with another one, Check out the design. Use the
Remove Row icon

to delete the row from the table.
Add in the new definition as stated above and check in the design.
You also have the option of doing a merge of definitions. Ensure that the design is checked out.
1. Select the
Merge option. Click the
Add Row icon

and then the folder icon to search for a content definition.
2. Select the content definition and click OK.
The definition is added to the row.
3. From the design page, select the information icon

. Click on the
ECAD Check In action and check in the design.
4. From the design page, select the information icon

. Click on the
Content tab.
The information is merged for the design under Attachments.
