Creating Server-side Watermarks
To set up a server-side watermark, follow these steps:
1. Open the Creo View Watermark Editor to create the watermark(s) you need for the various types of objects, such as 3D models, 2D drawings, documents, and images.
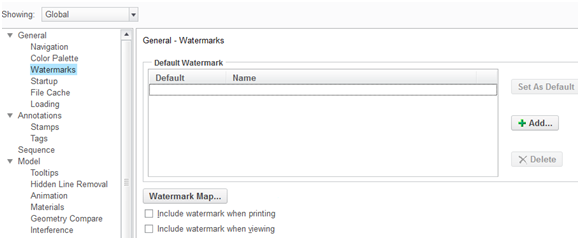
2. Launch the Creo View client in standalone mode, navigate to > , and click on the Watermarks option in the General Section.
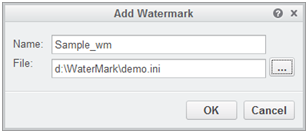
3. Click Add, enter the name, and click OK to upload the created .ini file.
4. Click Set As Default and enable Include watermark when printing and Include watermark when viewing. Click OK.
5. Navigate to%appdata%\PTC\ProductView. The user_prefs.xml and wmk000.ini files must be present.
6. Extract the watermark definition information from the user_prefs.xml file and create a file called server_prefs.xml with that information in it.
7. Select the server_prefs.xml and wmk000.ini files and zip up into a single file.