Custom Check In (Creo Elements/Direct Drafting)
Checking a file into the Windchill commonspace removes the checkout lock and makes the file available to other users. Windchill Workgroup Manager provides two ways to check in an object, the Auto Check In action and the Custom Check In action. This section describes the Custom Check In action, which is available from both an active Creo Elements/Direct Drafting session and the workspace.
Custom Check In allows you to set certain check-in options for the checkin by using the Windchill Check In page. The options are described in the online help available from the Check In page.
Use the following procedure to perform the Custom Check In action:
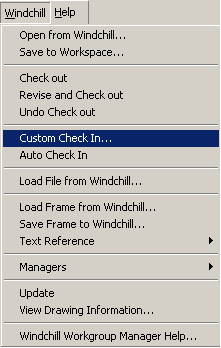
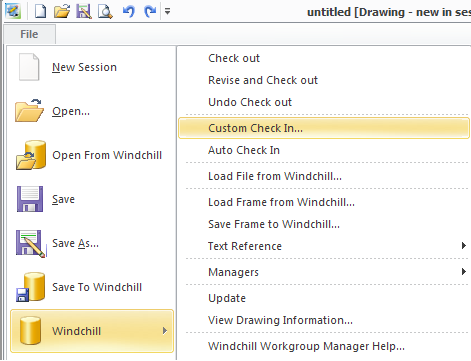
1. In a Creo Elements/Direct Drafting Windows or Mixed session, select > .

Or
In a Creo Elements/Direct Drafting Classic session, select > > .
Or
Select > > in a Fluent session.

The system saves the object in the session to the workspace and opens the Windchill Check In window.
2. Select the desired Check In options for Steps 1 and 2, and click Finish. The system checks in the current object using the check-in options you have specified.