Create an Attribute
As the organization administrator, you will create a new attribute and add it to the default part type.
Log in to Windchill
1. Log in to the Windchill system as the organization administrator. Typically, this can be done by launching Windchill in an incognito (private) window in the same browser or a different browser.
2. Ensure that you are logged in as the organization administrator user (not as the end user or the system administrator user) by checking the user name displayed at the top-left section of the page.
Create an Attribute and Add it to the Default Part Type
1. To open the Type and Attribute Management utility, navigate to Organizations, expand your organization, select Utilities, and then under Business Administration, click Type and Attribute Management.
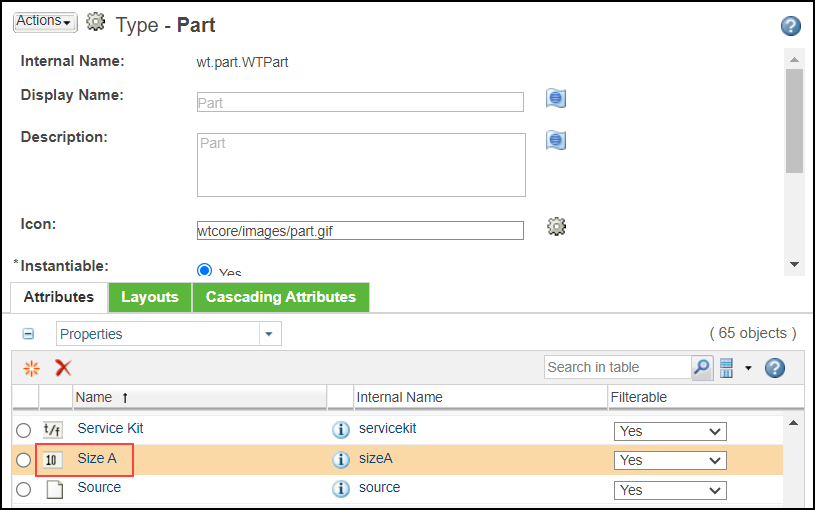
2. In the left pane, expand Manage Types, click Part.
3. In the type information page, from the Actions menu, select Edit.
4. In the Attributes tab, click  Create a new attribute.
Create a new attribute.5. In the New Attribute dialog box, create a new Integer attribute with the internal name as sizeA and type as Local. Click Next.
6. Set the data type as Integer Number and click Next.
7. Change the display name to Size A and click Finish.
8. In the Default Values tab of the attribute information page on the right, set the default value for the Size A attribute as 1, and click Save and Done.
The local attribute Size A is displayed on the Attributes tab of the type Part.
You do not need to modify or add this attribute to any attribute layout. The Create New Layout and More Attributes Info Page Layout contain default groups that automatically include your part attributes in these layouts in Windchill standard user interfaces.