Create Popup Buttons
Now that the addToCart and disassemble functions have been created, they will be added to the popup to make them interactive. The template for the popup will also be changed to account for the differences between parts.
|
|
The complete code for this section is available in Appendix 4 in GitHub. |
1. The Add to Cart button will be added into the price variable with the addToCart function attached to it. The Add to Cart button is added to the price variable instead of the popup because the button will only appear if there is a price associated with the part. The .close method and hiliteOff function are also tied to the button to close the popup and remove the shader once the button has been clicked.
var price = priceString != undefined ? ' </br>$' + parseFloat(priceString) + ' </div><div ng-click="hiliteOff(); popup.close();addToCart();"> Add to Cart</div>'
: "";
2. Now, you’ll edit the template for the popup to add the itemCount application parameter, the price of the part, and a Continue button.
a. Add the itemCount application parameter and price variable to the popup template as shown below.
template: '<div>' + $scope.app.params.itemCount + 'x ' + partNumber +
' </br>' + partName +
price + ' </div>',
b. A Continue button will be added directly to the template of the popup. Clicking this button will close out of the popup without performing any other action. It activates the hiliteoff function and .close method when clicked. Now, the popup will have buttons for adding a part to the cart and closing the popup.
//
//template for the popup with added buttons
template: '<div>' + $scope.app.params.itemCount + 'x ' + partNumber +
' [/br]' + partName +
price +
'<div ng-click="hiliteOff();popup.close();">Continue</div>',
3. Instead of binding the disassembly sequence to a button on the 2D interface, we’re going to bind it to a button in the popup. Since only certain parts have disassembly sequences attributed to them, an if else statement must be created to determine which version of the popup will appear— the one with Add to Cart, Disassembly, and Continue buttons or the one with only the Add to Cart and Continue buttons. Both portions of the if else statement are based on the length of the instructionName variable. Each button in the popup will have a function added to it later in this tutorial.
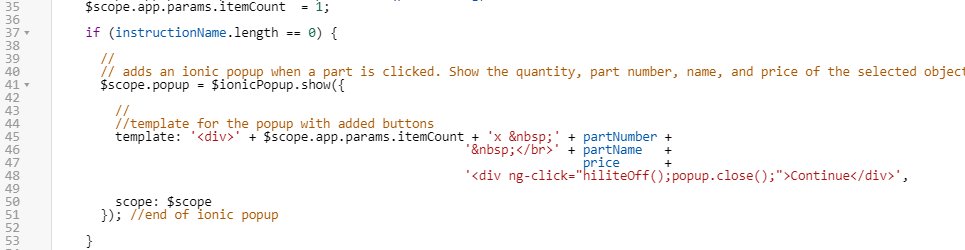
a. For the first condition, if the length of the instructionName variable is 0, it means that the selected part does not have an associated disassembly sequence. If the selected part does not have an associated disassembly sequence, then a Disassemble button is not needed in the popup. It will only have the Add to Cart and Continue buttons, which is the current state of the popup. Add the following new line of code above where the popup is called and change the scope of the popup variable so that it can be accessed outside of the if statement. Indent your code so that it lines up correctly inside of the if statement.
if (instructionName.length == 0) {
//
// adds an ionic popup when a part is clicked. Show the quantity, part number, name, and price of the selected object. </br> adds a line break between the two variables
$scope.popup = $ionicPopup.show({
//
//template for the popup with added buttons
template: '<div>' + $scope.app.params.itemCount + 'x ' + partNumber +
' </br>' + partName +
price +
'<div ng-click="hiliteOff();popup.close();">Continue</div>',
scope: $scope
}); //end of ionic popup
}
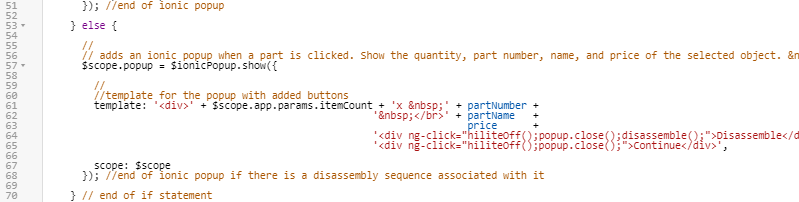
b. The else condition will call a popup for the case when there is a disassembly sequence associated with the part. This calls a popup with all three possible buttons: Add to Cart, Disassemble, and Continue. The Disassemble button not only calls the disassemble function, but also hiliteOff and popup.close.
} else {
//
// adds an ionic popup when a part is clicked. Show the quantity, part number, name, and price of the selected object. [/br] adds a line break between the two variables
$scope.popup = $ionicPopup.show({
//
//template for the popup with added buttons
template: '<div>' + $scope.app.params.itemCount + 'x ' + partNumber +
' </br>' + partName +
price +
'<div ng-click="hiliteOff();popup.close();disassemble();">Disassemble</div>' +
'<div ng-click="hiliteOff();popup.close();">Continue</div>',
scope: $scope
}); //end of ionic popup if there is a disassembly sequence associated with it
} // end of if statement
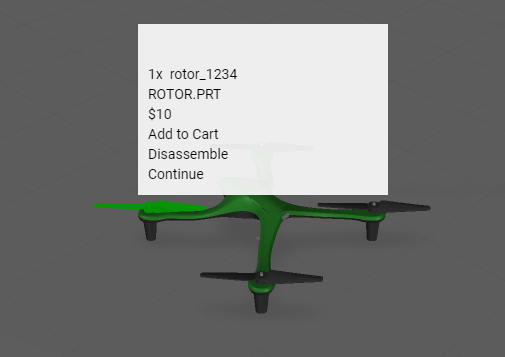
4. Click Preview.
a. Click on any of the rotors to see the changes that have been made to the popup. Though they have not been styled yet, each button can be clicked. Try each button to see how they interact with the model.
b. Now, click on the base of the quadcopter to see the difference in the popup when there is not a disassembly sequence associated with a part.
c. Finally, click on the PCB. You’ll notice that when you click on the PCB, a price does not appear and you are not given the option to add the part to your cart. This is because earlier, you combined the PCB and battery into a single part, and the individual PCB does not have a price associated with it.
d. If all three different versions of the popup appear successfully, you have completed this section.
In the final part of this section, you’ll
use CSS to style your experience.