Bindings Pane
The Bindings pane allows you to verify that your bindings have been connected properly.

Binding Data
To create a binding, select a property or event, and drag and drop it onto the desired widget property or the widget itself.
|
|
You must drag and drop the data service onto binding arrow next to the widget property that you want to bind the data service to. If a data service has been bound to a widget property, the directional arrow is bold:
 |
Each widget on the page that can accept that data is given a visual indication, so you know where you are able to drag the data. Some widgets only display one type of data, such as a Text Area or a Check Box. You can select an individual column from a Data Service in these cases, and drag that specific column onto the widget to bind the data. Once the data is bound to the widget, you can configure the widget further as appropriate. You can also Bind the Data from one Widget to another.
Using Filters
|
|
Filtering is only available on data bindings.
|
If you want to alter or change the value of the binding before the value is set on the target object, you can add a JavaScript snippet using Add Filter to perform that change. For example, if you want to change a returned value of true/false to ON/OFF for a target object, complete the following steps:
1. Drag and drop a Toggle widget onto the canvas.
2. Enter a label for the toggle in the Label field. For this example, we’ve entered On/Off.
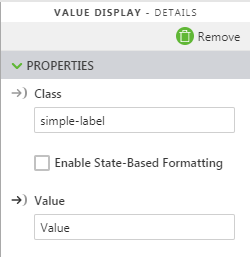
3. Drag and drop a Value Display widget onto the canvas.
4. Enter a label for the value display in the Label field. For this example, we’ve entered Status.
5. Bind the Value property of the Toggle widget to the Value Display widget and select Value on the Select Binding Target window.
6. In the Bindings pane, click Add Filter on the binding you just created.
7. Enter a name for the filter in the Filter Name field, and then enter the following in the Filter Body field:
return (value === true ? "ON" : "OFF")
8. Click Done. Your experience should look similar to this:
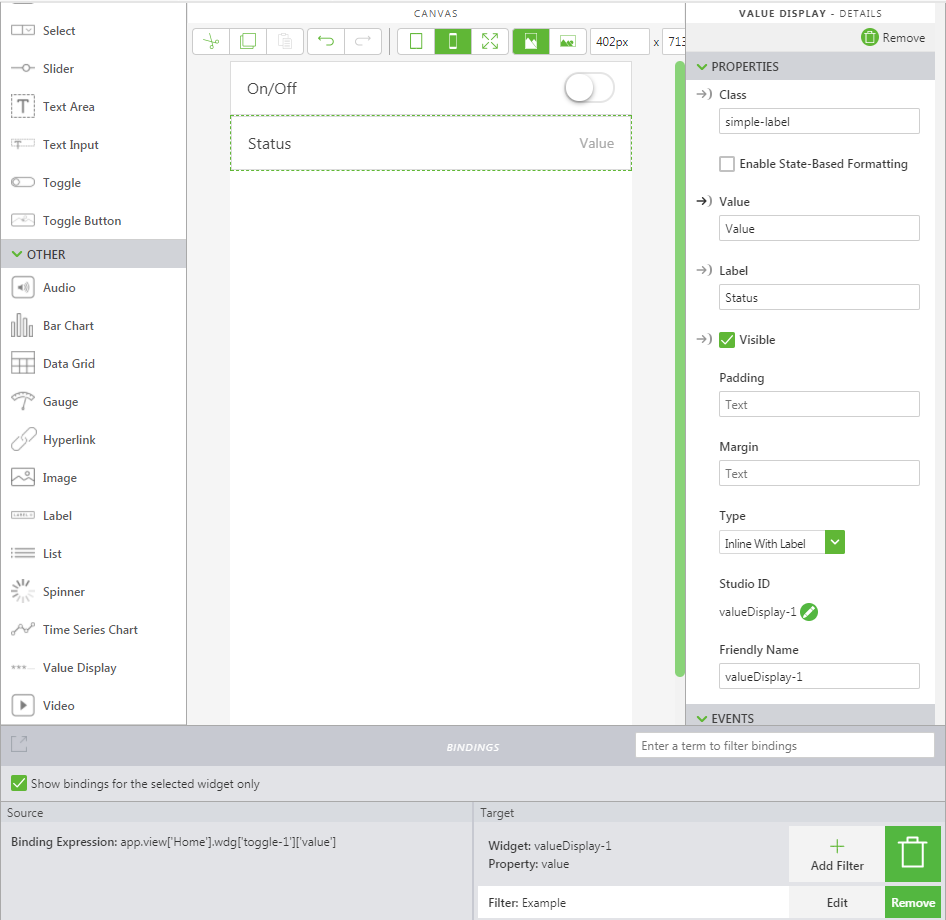
9. Click Preview. When you click the toggle, the status in the value display changes from OFF to ON instead of the original values of false and true.
