Upgrade Experience Service
The installer can be used to upgrade an existing Experience Service installation to a newer version.
|
|
Before upgrading, you must stop your Experience Service. For more information, see Stop the Experience Service.
|
|
|
Version 8.5.6 of the Experience Service for Vuforia Studio only supports upgrading from version 8.3.1 or later.
|
Before You Upgrade and Best Practices
Before you upgrade your Experience Service to a new version, we recommend doing the following things first.
1. Back up the current installed version of your Experience Service.
2. Stop the Experience Service.
Completely stop your Experience Service. For more information, see Stop the Experience Service.
3. Close all open files and folders.
Make sure that all the open files and folders related to the Experience Service are closed. This includes the following:
◦ Command prompts from which the Experience Service was started or stopped
◦ The Experience Service installation folder
4. If possible, test the upgrade before deploying it to a production environment.
Interactive Modes
When the installer is run in one of the interactive modes (xwindow, gtk, win32, or text), use the following steps to complete the upgrade:
1. Click Forward on the Setup - Experience Service window.
2. Select I accept the agreement and click Forward.
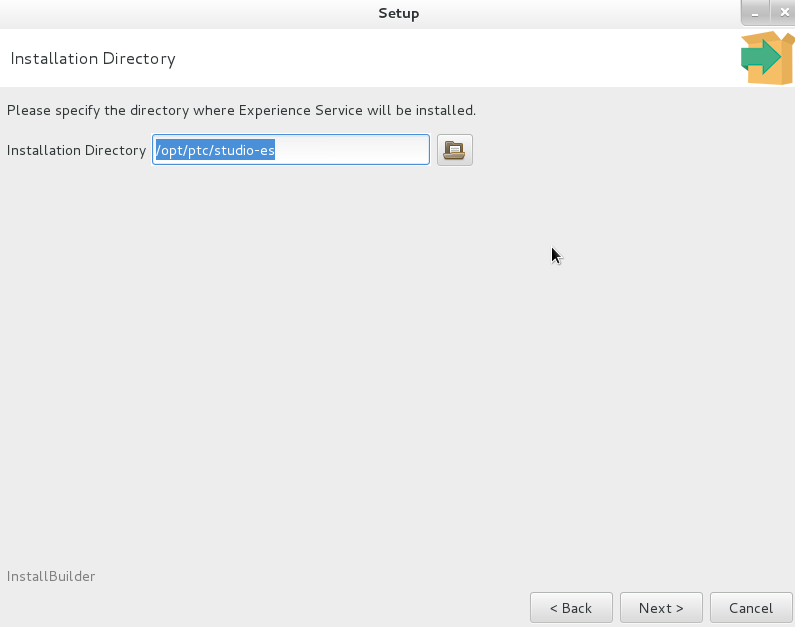
3. On the Installation Directory window, make sure that the directory that contains the installation to be upgraded is selected. Click Forward.
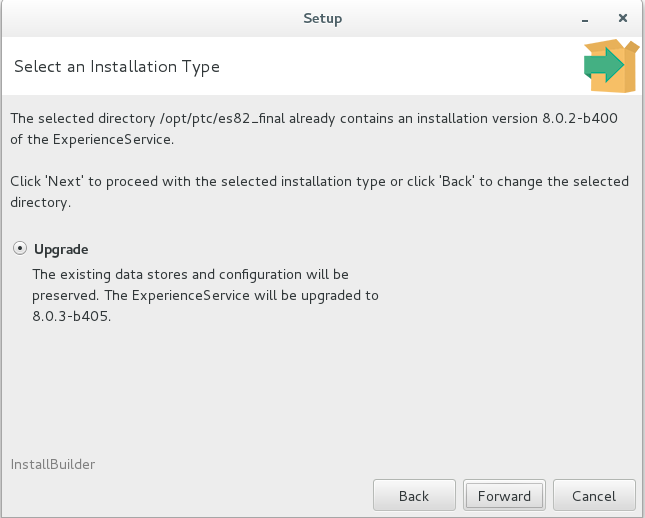
4. Select Upgrade on the Select an Installation Type window to upgrade your existing installation, or click Back to select a different directory. Click Forward.
5. Enter the administrator credentials (basic authentication) or access token (SSO) for the ThingWorx Server on the ThingWorx Server window, and click Next.
6. On the Ready to Install window, click Forward.
7. To ensure that your current directory contains the upgraded version of the software, navigate out of the current directory and then navigate back to the Experience Service installation directory.
During the upgrade, the installer renames the original installation directory and then creates a new directory with the same name as the original directory. Due to the way the Unix file system works, if you have a shell open with its current directory set to the original install directory prior to running the installer, its current directory will point to the renamed directory after the upgrade is complete. This directory does not contain the upgraded installation.
Unattended Mode
When using the installer in Unattended mode to upgrade an existing installation, the installType option must be set equal to upgrade, and the installDir must be set equal to a directory that contains an existing installation of the Experience Service. For example:
• Linux: $ <name of installer file>.run --mode unattended --installType upgrade --installDir /opt/es
• Windows: start /W <name of installer file>.exe --mode unattended --installType upgrade --installDir C:\ptc\studio-es
When upgrading an existing installation, the configuration of that existing installation cannot be modified. If any options that would change the existing configuration are specified on the command line or in an option file, those options are ignored. For example, in the following command, the esPort and dbType options are ignored:
• Linux: $ <name of installer file>.run --mode unattended --installType upgrade --installDir /opt/es --esPort 3333 --dbType SQLiteHandler
• Windows: start /W <name of installer file>.exe --mode unattended --installType upgrade --installDir C:\ptc\studio-es --esPort 3333 --dbType SQLiteHandler