Adding a Waste Event
|
|
The + Add button will only be visible when a filter has been executed.
|
1. From the Waste display, click + Add to open the Add New Waste Event window. Search for and select the equipment where the waste event occurred.
2. Select the Start Time and End Time for the waste event or enter the duration.
|
|
The current timestamp will be used as the End Time if duration is utilized.
|
3. Click Save.
4. Click Next or navigate to the Quantity tab.
5. Enter at least one quantity along with associated timestamp, clicking + to add to the list below. Expand the list by clicking  and minimize by clicking
  .
.
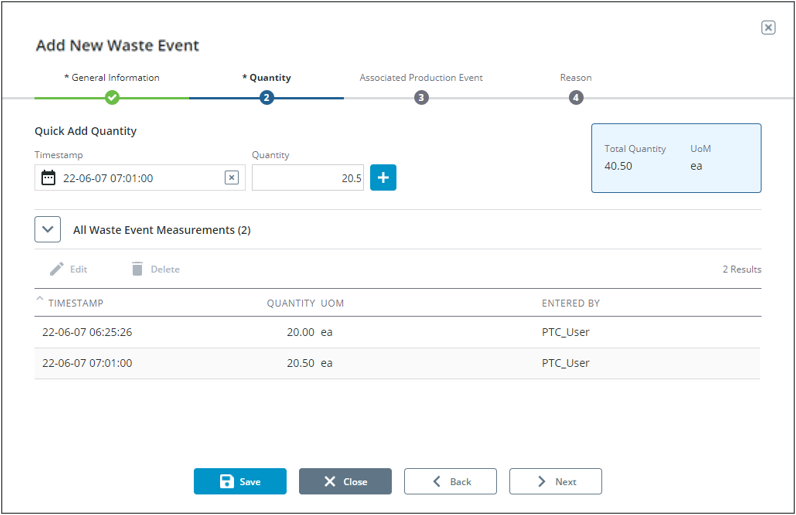
6. Click Save.
7. Existing Waste Event Measurements can be edited or deleted when the list is expanded.
a. To delete, select the appropriate measurement and click Delete. Click Delete again within the confirmation window.
The delete button is disabled if only 1 waste event exists since there must be 1 quantity associated with the event. |
b. To Edit, select the appropriate measurement, and click Edit. Modify the timestamp and quantity as needed and click Save.
8. Click Next or navigate to the Associated Production Event tab.
9. A production event will be automatically assigned to the event along with the product, quantity, and Unit of Measure. A list of other Production Events within the same timeframe populate in a list below. Expand the list by clicking and minimize by clicking .
a. To select a different Production Event, expand the list, select the appropriate event, and click  .
.
b. The Production Events can be filtered by searching or utilizing the timeframe selector. 

10. Click Save.
11. Click Next or navigate to the Reason tab.
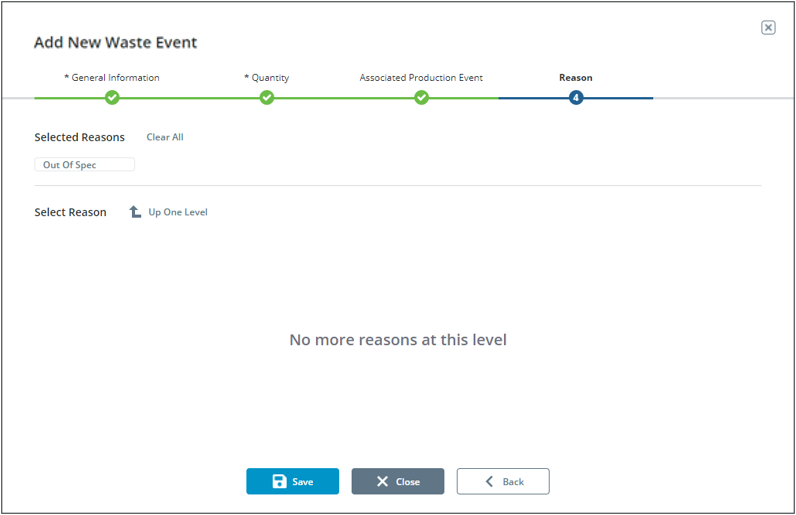
12. (Optional) Select the reason for the waste entry.
◦ A reason tree can be many levels. When a reason is selected, it is added to the Selected Reasons breadcrumb display. The next level of reasons in the reason tree (if any) will appear in the Select Reason pane.
◦ If there are no further reasons, the text No more reasons at this level will display.
◦ Click Up One Level to move up a level in the reason tree.
◦ Click Clear All to clear the selected reasons and return to the top level of the reason tree. It is not required to select reasons down to the final node of the reason tree.