Executing Work Steps
Asset 360 integrates with Field Service Work Plan Templates and Work Step Templates. You can standardize steps that a Depot engineer must perform on each Depot Work Order. Work Plan Templates can be configured to associate certain templates with certain types of Work Orders. Your templates can be assigned based on a number of matching rules such as the Product or Work Type of the Depot Work Order. Work Plans and Work Steps ensure that your Depot Work Orders repairs are performed per standards. Work Plan/Work Step Templates can be configured per your specific depot repair needs. Each step can be started and completed as your Depot Engineer works through them. The start and end times are logged, providing visibility into your depot repair process efficiency.
The application allows you to create work steps for the depot repair process to enable you to track each activity more efficiently.
The work steps can be executed by the following two actions in a repetitive manner:
1. Start Next Work Step: To start the next work step
2. End Current Work Step: to end the current work step
In the Depot Work Order record, there are three fields to show the status of the work step executions:
• Current Work Step: displays the current work step of the repair process
• Next Work Step: displays the next work step of the repair process when the current work step is complete
• Work Step Status: displays the status of the work step execution, either Start Next Step or End Current Step

|
|
The work step execution can be performed only when the Depot Work Order status is In Progress and the Work Step Status is Start Next Step.
|
To execute the work steps, perform the following steps.
1. Log into Asset 360 with your credentials.
2. Launch the Depot Work Order record for which you want to execute the work steps.
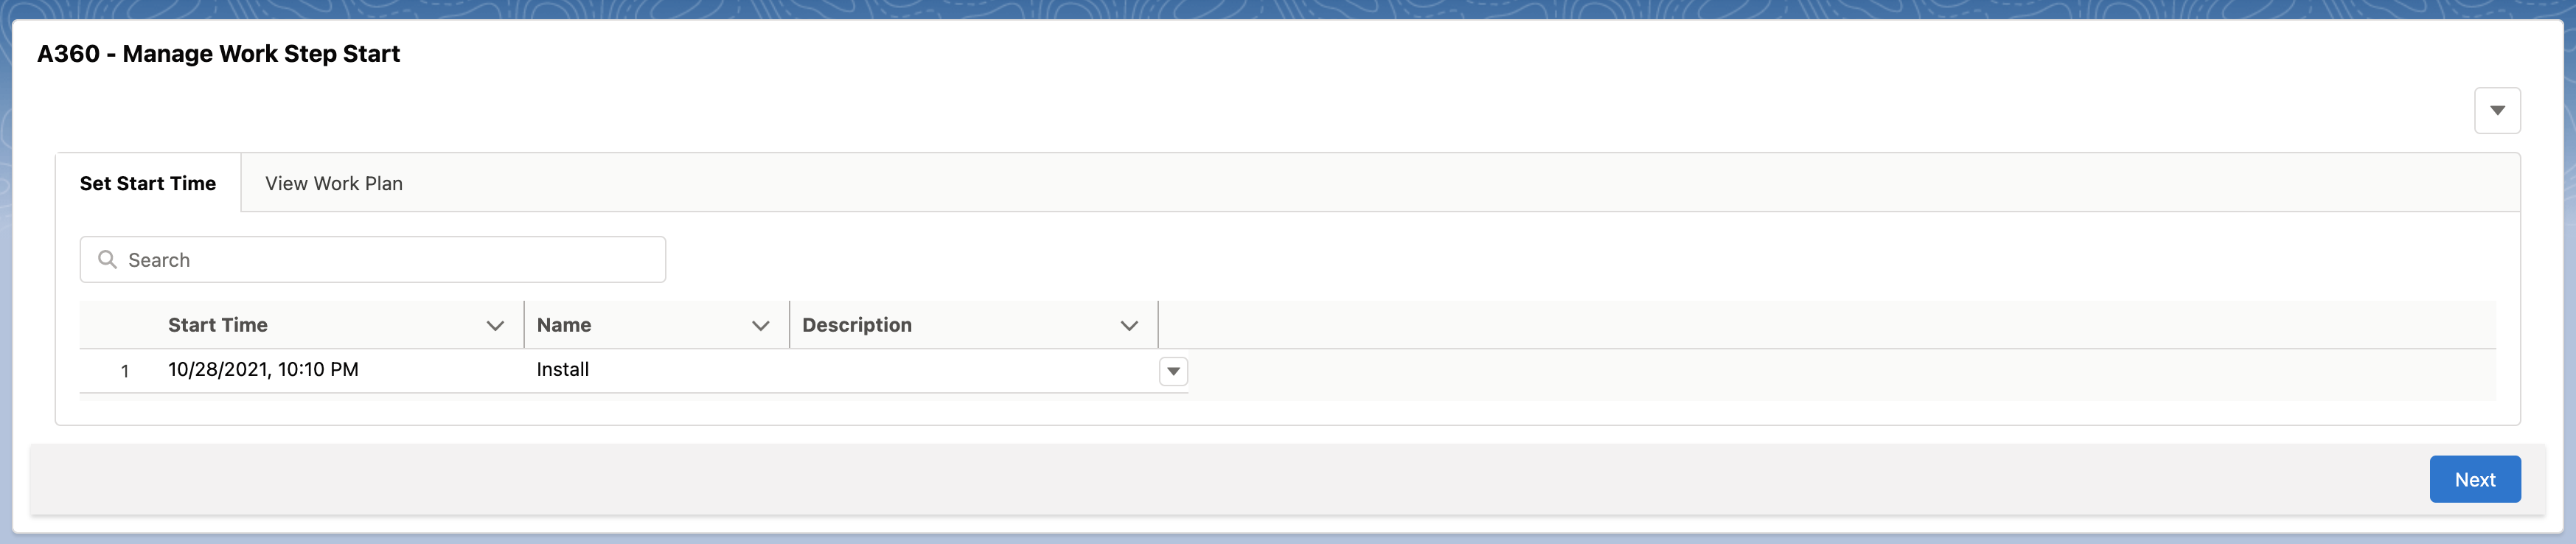
3. Navigate to Service Process Wizard > Depot Work Order Management > Start Next Work Step. The Manage Work Step Start page is displayed.
|
|
In the Set Start Time tab, the Start Time and Name fields are auto-populated at which you start the work step. You can edit the Start Time as required.
|

|
|
In the View Work Plan tab, you can see the status of the Work Steps as you proceed with the steps. You can edit the name of the Work Step if required.
|
4. Click Next. The Work Order is updated with the Current Work Step and the Next Work Step. The Work Step Status is changed to End Current Step. The Current Work Step and Next Work Step fields are updated automatically.

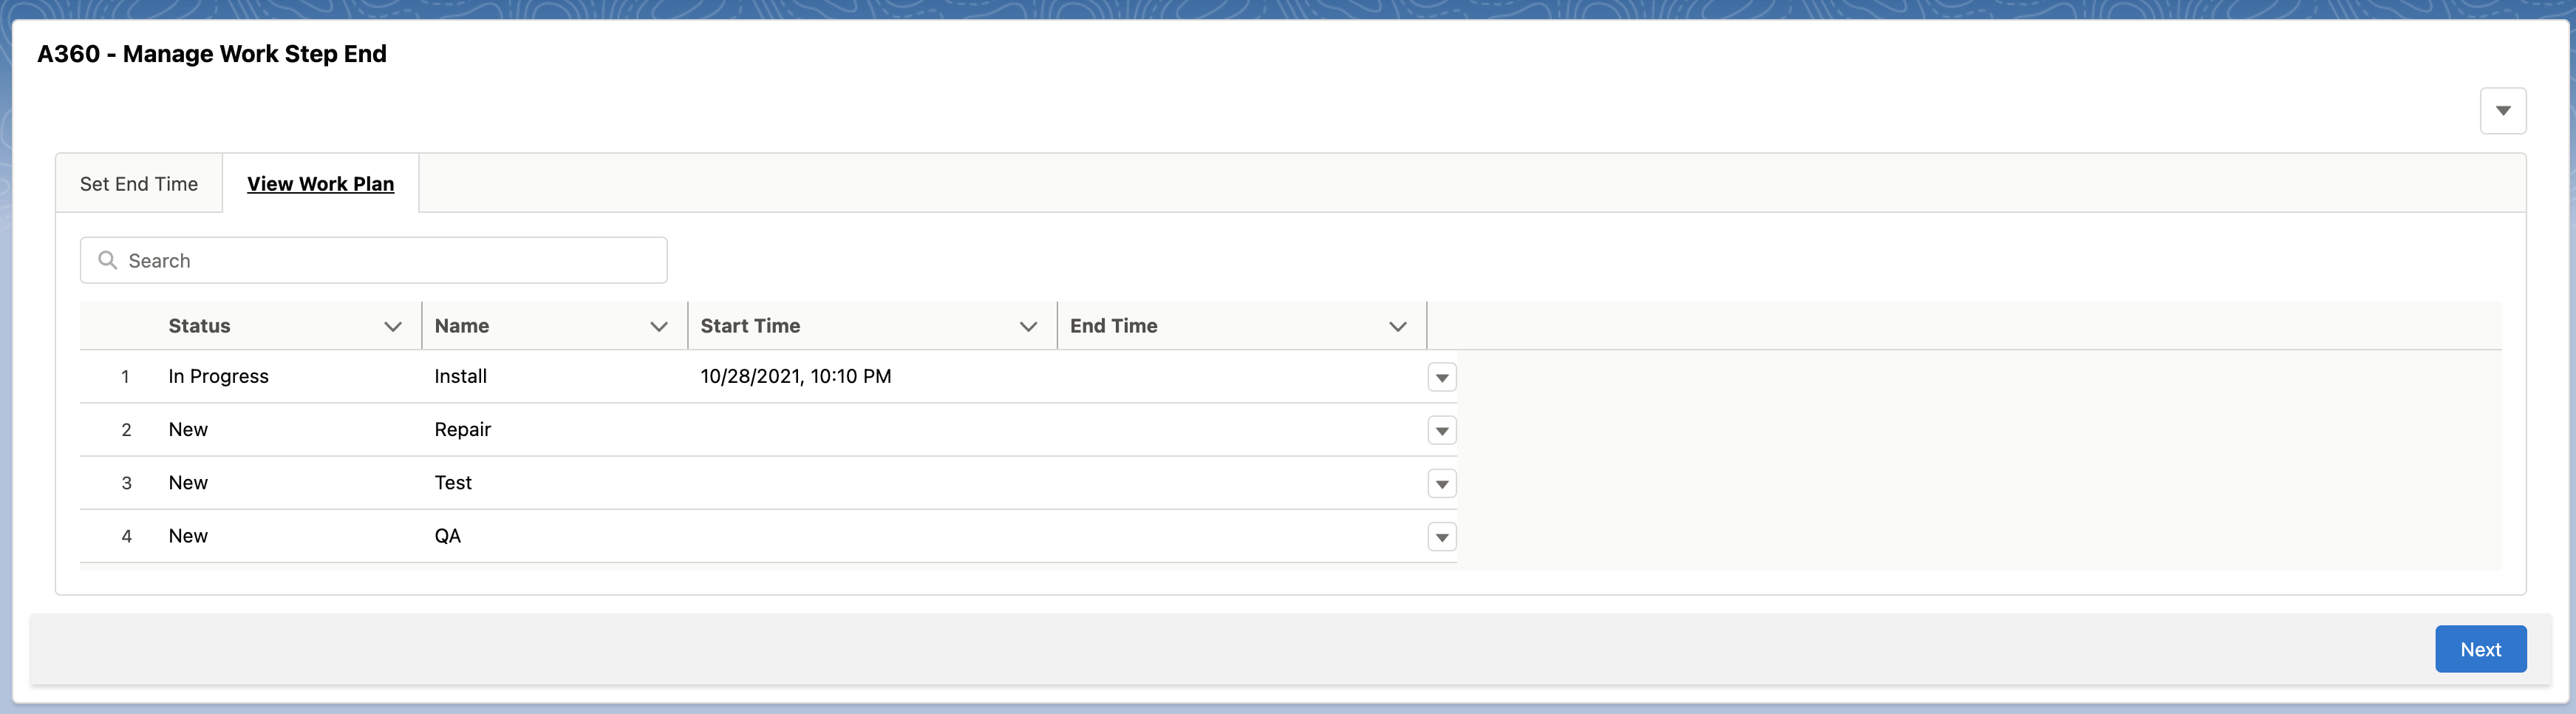
5. Navigate to Service Process Wizard > Depot Work Order Management > End Current Work Step. the Manage Work Step End page is displayed.

|
|
In the Set End Time tab, the End Time field is auto-populated at which you end the work step. You can edit it as required.
|
|
|
In the View Work Plan tab, the status of the Work Steps is updated.
|
6. Click Next. The Work Order is updated with the Current Work Step and the Next Work Step. The Work Step Status is changed to Start Next Step.
7. Perform step-3 to step-6 repetitively till the last Work Step is complete. When you end the last Work Step, the Work Step Status becomes Completed, as shown in the following animation.