Creating Advanced Exchange Request
An Advanced Exchange allows you to ship a working asset or component to your customer to replace their non-functioning asset. Your customer sends back their non-functioning asset, which typically undergoes a Depot Repair process on arrival. This process allows you to meet your customer's business continuity needs and your SLAs while ensuring the non-functioning asset is accounted for and repaired for reuse.
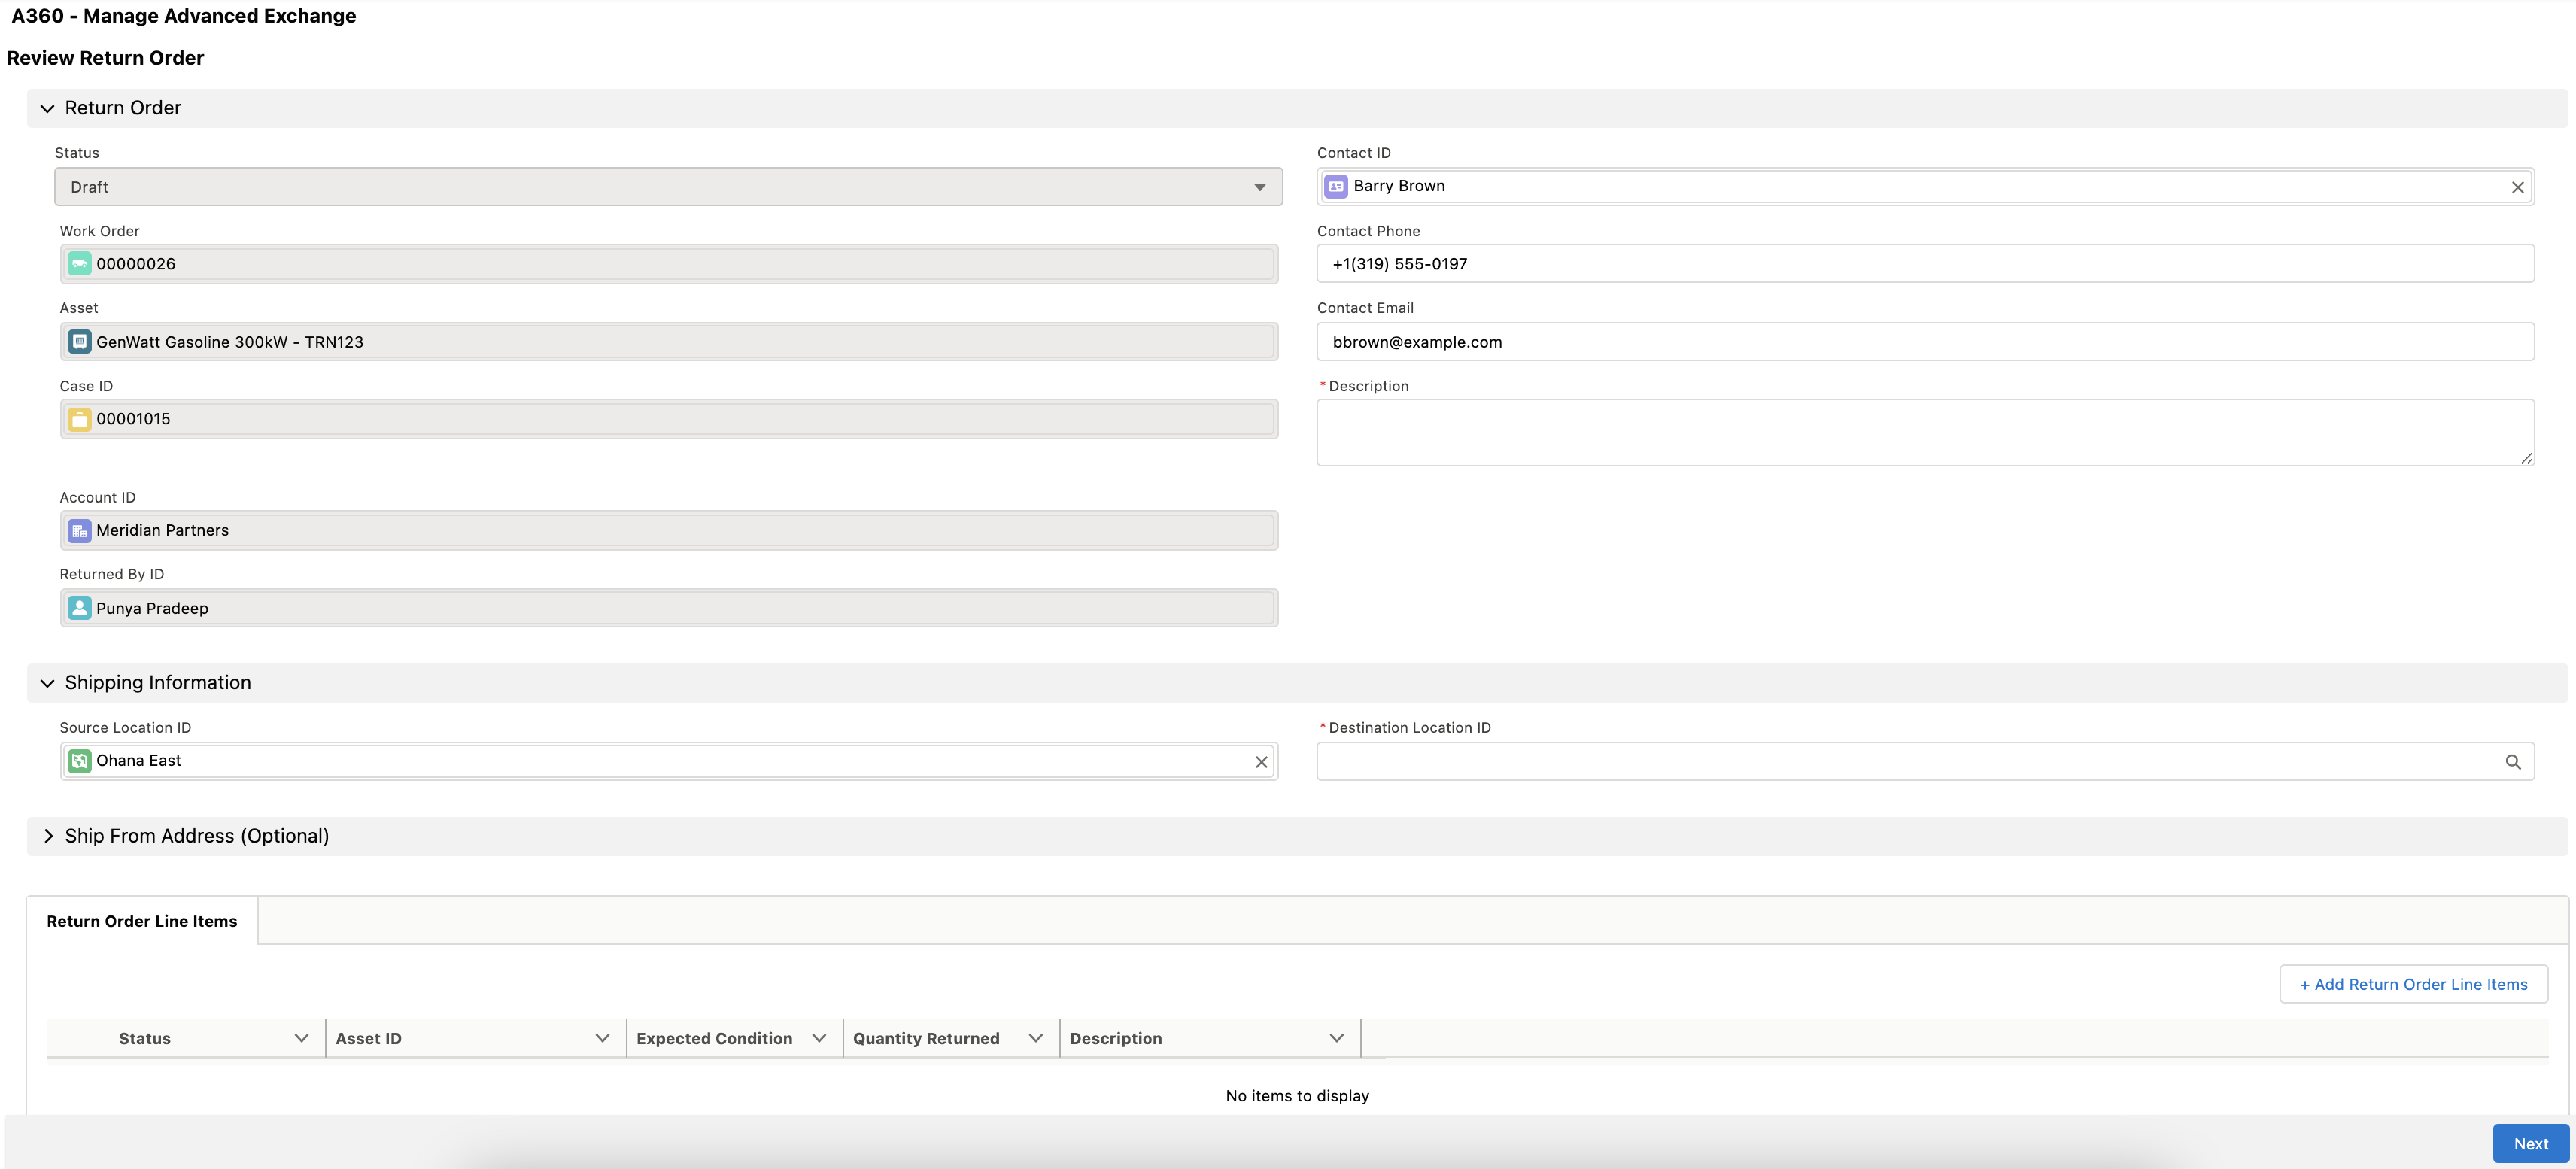
1. Create a Return Order for your defective asset, and
2. Create a Product Request for the new item to be processed and shipped to the customer location
To create an advanced exchange for a work order:
1. Launch the Work Order for which you want to create an advanced exchange.
2. Navigate to Service Process Wizard > Work Order Actions > Create Advanced Exchange. The Manage Advanced Exchange page is displayed.
3. Provide the details for the fields as explained in the following table.
|
Field Name
|
Description
|
||
|---|---|---|---|
|
Fields marked with * are mandatory.
|
|||
|
Return Order
|
|||
|
Contact Phone
|
It is mapped from Work Order. Provide an alternate contact phone number for the return, if necessary.
|
||
|
Contact Email
|
It is mapped from Work Order. Provide an alternate contact email for the return, if necessary.
|
||
|
Description*
|
Add a description for stating the reason for the return.
|
||
|
Shipping Information
|
|||
|
Shipment Type
|
Indicate the shipping method for the asset. The available options are:
• Standard
• Rush
• Overnight
• Next Business Day
• Pick Up
|
||
|
Expected Arrival Date
|
If known, indicate the expected arrival of the asset into the Depot Repair location.
|
||
|
Packing/Handling Instructions
|
Add instructions on packing or handling the asset, if necessary.
|
||
|
Ship From/To
|
|||
|
Source Location ID
|
Provide the location of the shipment for the returned asset. This field is mapped from the location indicated on the Work Order. Typically, this indicates the customer location of the asset. If the location is not stored in the system, or the asset is shipped from an alternate shipping location, provide the optional Ship From Address instead.
|
||
|
Destination Location ID*
|
Provide the Depot location to which the asset should be returned. This field is auto-populated if the Depot Finder service can locate a valid depot location in the system matching the root asset's product or product family. Click here for more details on Depot Finder settings.
|
||
|
Ship From Address
|
Either a Source Location ID or a Ship From Address (or both) should be provided for optimal results.
|
||
4. Click Next. The Manage Advanced Exchange page is displayed to select the assets to exchange.
5. Select the assets or components you want to exchange and click Next. The Review Return of Defective Unit page is displayed.
6. Select the Expected Condition for the assets and click Next. The Review Outbound Shipment page is displayed, as shown below:
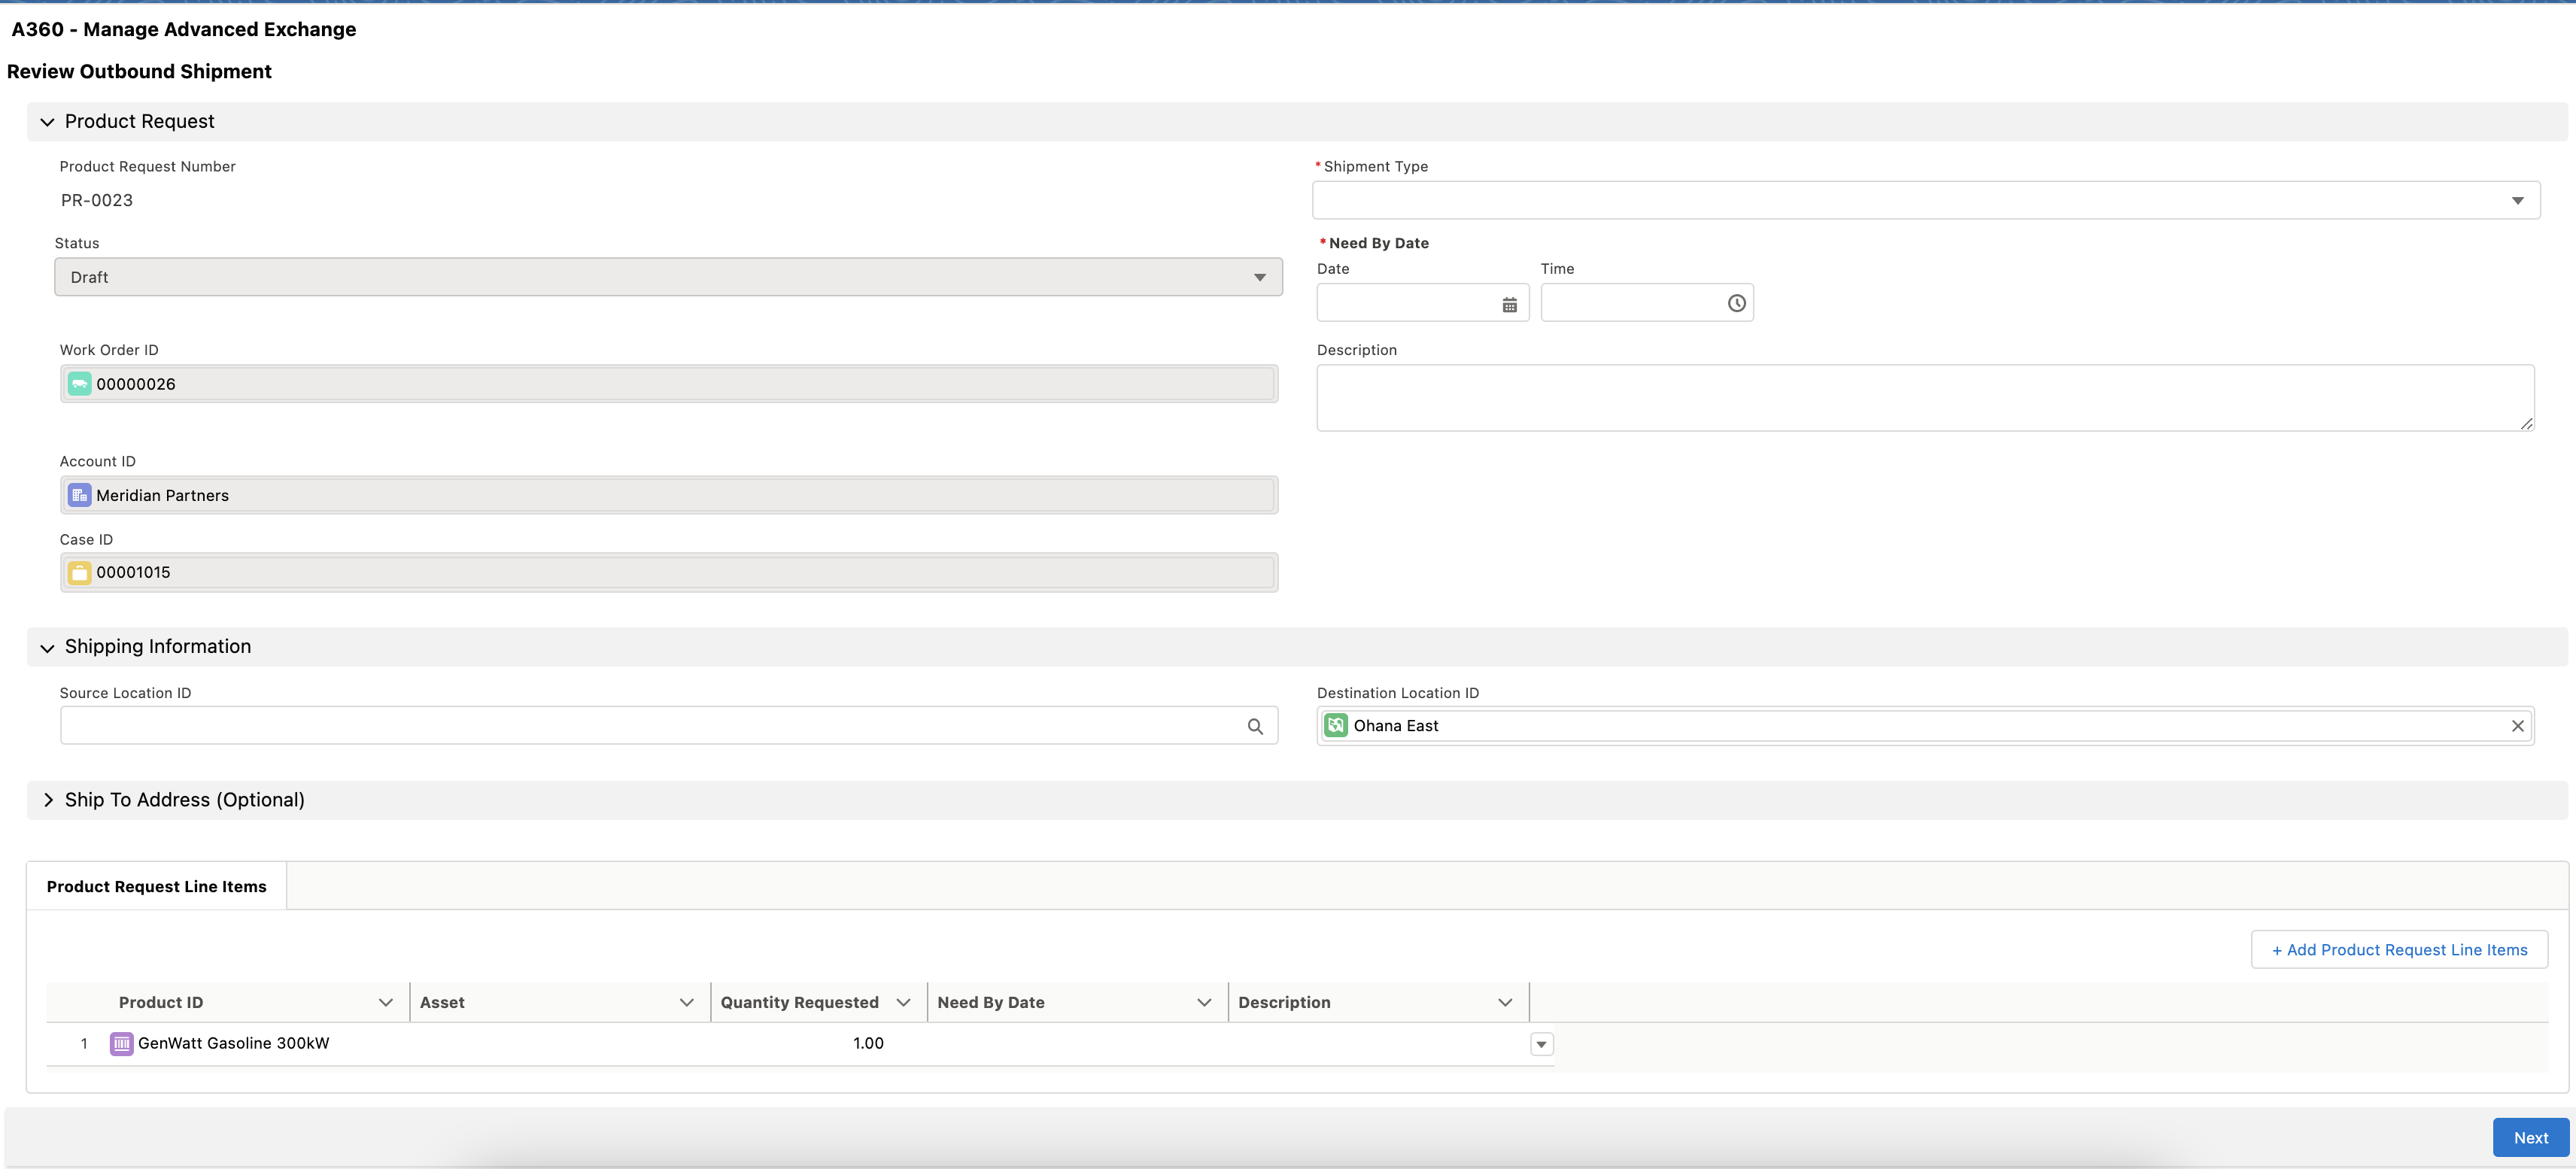
7. Provide the following mandatory details:
◦ Shipment Type: Select a shipment type from the list.
◦ Need By Date: Select a date and time by which you need the assets.
8. Click Next. A confirmation message is displayed on the completion of the Advanced Exchange process.
9. Click Next. You are redirected to the Return Order details page.
|
|
The Create Advanced Exchange option is available only for Field Work Order and Remote Work Order with In Progress status.
|