Creating OSLC Links to Windchill data
OSLC Links can be created using drag and drop. To create a new OSLC Link, perform the following steps:
1. Launch Modeler and open a model that contains the items to which you want to create OSLC Links.
2. On the OSLC browser, navigate to the Windchill part you want to link to.
3. Drag the Windchill part onto the Modeler item that you want to link. You can drop onto an item displayed on an open diagram, or onto an item displayed in a browser (for example, the Packages browser).
|
|
You can also create OSLC Links by copying the Windchill part in the OSLC browser and then pasting onto a model item.
|
4. In the pop-up dialog, select a Link Type from the drop-down menu or type a value.
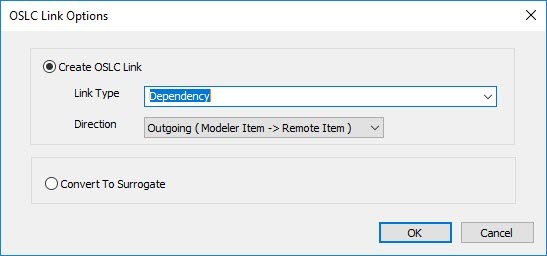
5. Select the direction of the link, either Incoming or Outgoing.
6. Click OK to create the OSLC Link. The Properties pane for the new OSLC Link is displayed. The General tab displays standard properties for the OSLC Link.
7. Click the Options tab to view the Server Type, Resource Type and Link Type properties. The Link Type can be updated if required.
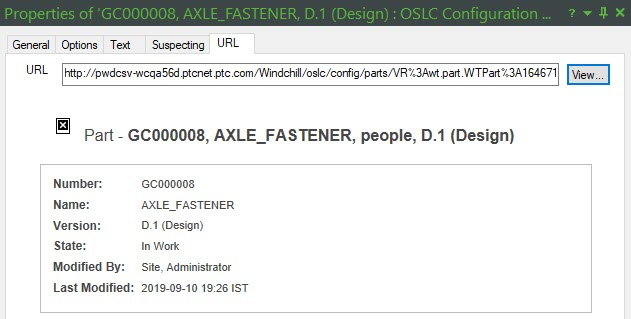
8. Click the Text tab to view the URL and a small preview for the linked Windchill part. Click the View to view the large preview for the linked Windchill part.