Configuring a remote SQL Server
PTC Modeler provides the flexibility of installing the Modeler server and SQL Server on different machines to allow for maximum utilization of hardware resources. This chapter provides instructions on configuring PTC Modeler to work with a remotely installed Microsoft SQL Server.
|
|
Ensure that both the servers are on the same domain/network.
|
To configure a remote Microsoft SQL Server
1. Download and install a PTC Modeler supported SQL Server version on a remote computer (different from the computer that has PTC Modeler).
a. After you have downloaded the SQL Server installer files, launch the installer by double-clicking setup.exe.
b. On the left panel, click Installation.
c. On the right panel, click New SQL Server stand-alone instruction or add features to an existing installation.
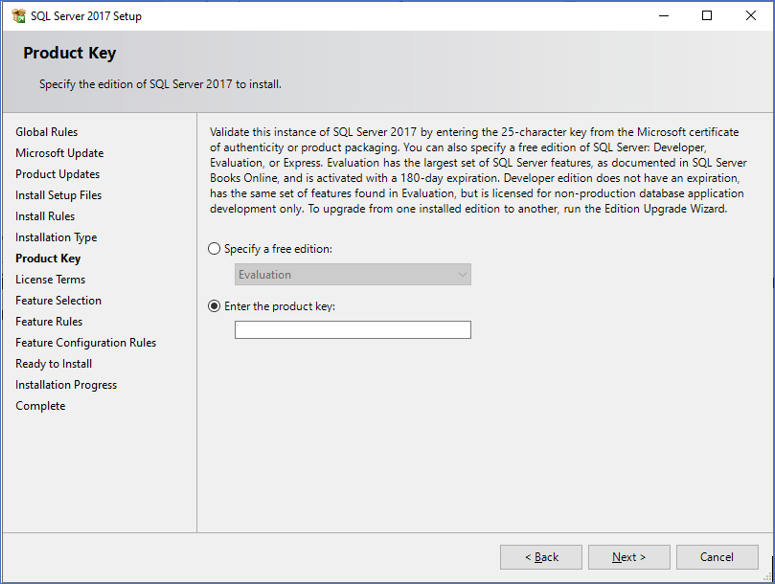
d. Click Next until you are prompted for the product key. Enter the product key and click Next.

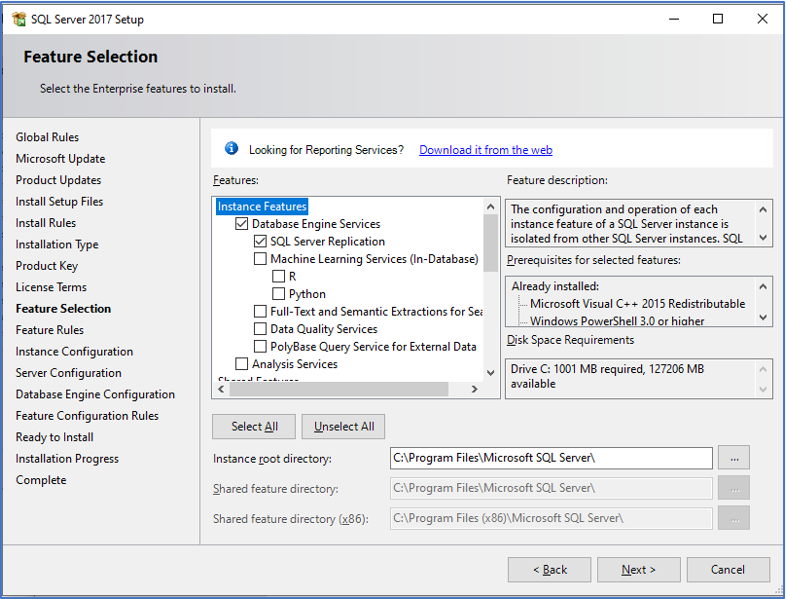
e. In the Feature Selection section, select the Instance Features and click Next.

f. In the Instance Configuration section, select Named instance and enter Modeler and click Next.
g. In the Database Engine Configuration section, click Add Current User and click Next.
h. In the Ready to Install section, click Install.
i. After installation is completed, open SQL Server Management Studio (SSMS) and connect to SQL Server Instance.
2. Create Windows firewall rules for UDP port number 1434 and sqlservr.exe. For more information, see topic Setting up the Windows Firewall.
3. Open SQL Server Configuration Manager in the remote computer and ensure that the SQL Browser service is running.

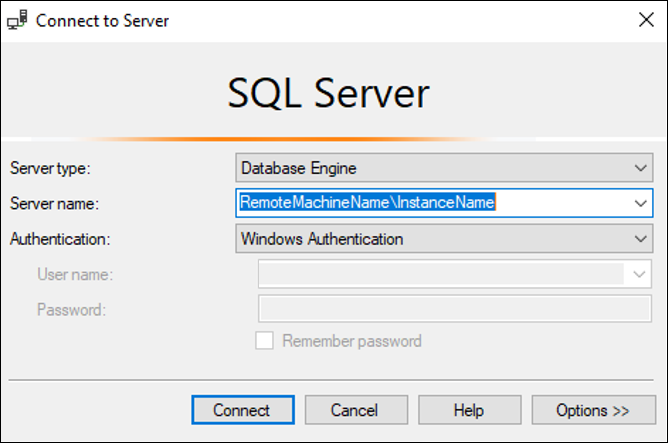
4. Install SSMS on the computer to be used for PTC Modeler server installation. Connect to the remote SQL Server using <RemoteMachinename\Instancename>.

5. Install PTC Modeler (as a Standalone or server configuration) on a computer that is preinstalled with a supported version of Microsoft SQL Server. are installing Modeler should have SQL Server already installed.
6. Execute the adminscript_master.sql script and update the UNC path in the remote SQL server.
7. You can now connect to the remote SQL Server as <machinename\Instancename>.