Generation
You have drawn the template as described on the previous page.
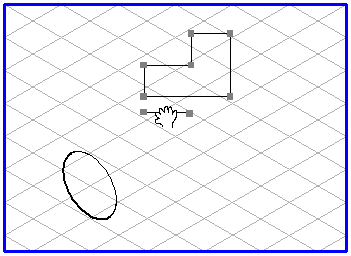
Now draw an ellipse. The orientation and ellipse value of this basic ellipse should be selected so that they agree with the desired perspective of the rotational body. This concludes the preparatory work.
Select all the elements in the cross-sectional drawing. Select the
Rotational surfaces
tool. The cursor becomes a move hand

.
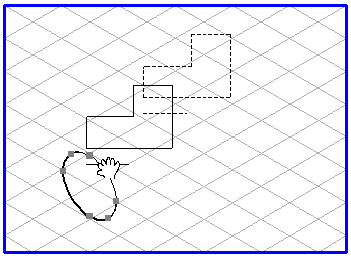
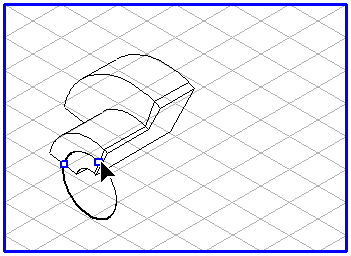
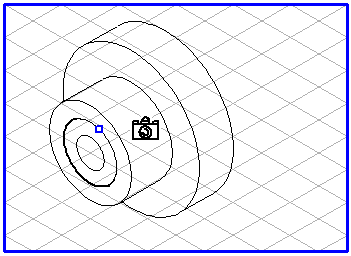
Now select any element from the list and drag this onto the ellipse. As soon as you touch the ellipse while dragging with the cursor, the ellipse is selected. If you release the mouse button while the ellipse is selected, the cross-section will be projected into the perspective as a body segment. The cursor becomes a camera

.
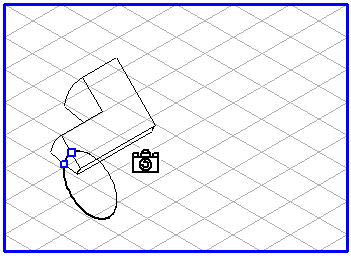
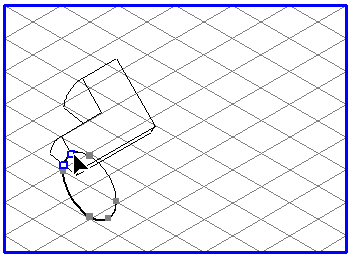
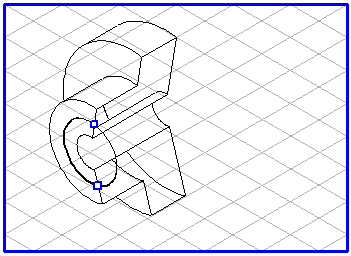
Two green points will appear on the ellipse which mark the start and end angles of the body segment. The orientations of the start and end angles are then aligned to the direction in which you have dragged the basic ellipse. If you move the cursor over a green point, it becomes an arrow tip

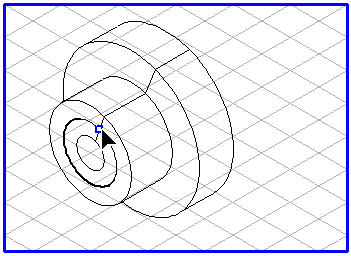
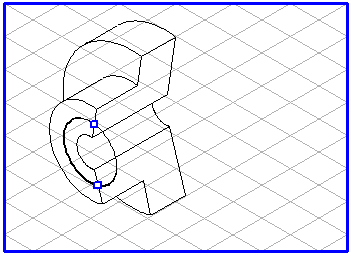
cursor. Click the green point. When you drag the mouse, the green point moves over the ellipse and the associated elements are dragged around the ellipse. If you continue dragging until the two green points lie on top of each other, you will then see the full rotational body.
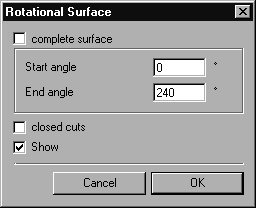
If you hold down the SHIFT key and click the free drawing area with your mouse, the following dialog box appears:
This window allows you to change various settings. If the Show box is checked, each change will be applied immediately so that you can check the effect of the change.
Checking the complete surface box causes the full rotational body to be displayed.
The changes made to the Start angle and End angle values determine the size of the body segment. The position of the segment depends on the value you have entered for the angle.
The body will initially be displayed hollow. If you check closed cuts, the cross-sectional areas of the body will be closed and the interlying lines will disappear.
The entries will be applied if you click OK. Click Cancel if you wish to use the settings which were in use before the dialog box was opened.
| Using the green points or the dialog box, you can change the values as before. |