Toolbars in the Working Window
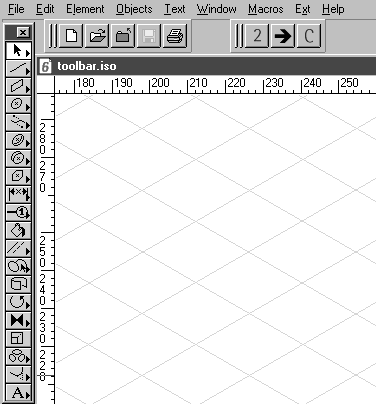
When you select a toolbar in the Customize Toolbars dialog box, this toolbar appears in the working window.
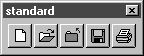
To allow you to work freely with a full-screen window on the drawing sheet, you have the option of moving a toolbar to any of the four sides around the edge of the window. The toolbar snaps into position. To move the toolbar up to the edge, click outside the buttons on the toolbar. Holding down the mouse button, move the toolbar to one of the edges. When the gray toolbar frame becomes narrower, release the mouse button. The toolbar is fitted along the window edge. When the toolbar is being positioned against the window edge, it appears with a move handle and the title bar with the name and Close button disappears.
You can also move the toolbar within the edge area and move it back to the working area at any time. Use the move handle to move the toolbar.
When you have created multiple toolbars, you can enable these toolbars together and position them anywhere around the edge of the window. You can arrange them next to or under each other or place them on different sides of the window.
When you select the Toolbars command and deactivate a toolbar (no check mark in front of the name), the toolbar disappears from the window.
To execute a command via the toolbar, simply click on the button that corresponds to the command. The command will then be executed.
As well as using the tool icons on the buttons, you can also identify the command assigned to the buttons using the tooltips.