Recording Macros
|
|
This topic summarizes more detailed information on macro recording found in Macros Menu in the Arbortext IsoDraw User's Reference. |
To record a macro in Arbortext IsoDraw you do the following:
• Use the Macros menu to record a set of actions.
• Assign a macro name to the recording.
• Save the macro name in a macro file.
For example:
1. Choose > > . Save the new ISO file as example1.idr.
2. Choose > > .
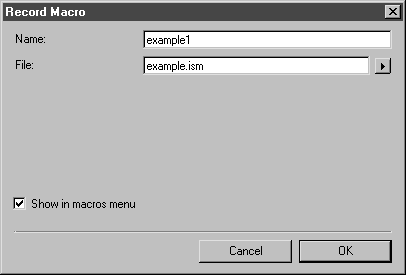
The following dialog box appears.
3. Enter example1 in the macro Name box.
| When you record a macro, you should choose a name that matches the macro’s function. |
4. Enter example.ism in the macro File box.
| One macro file can contain multiple macros. |
5. Select Show in macros menu if you want the macro name you entered to appear in the Macros menu list
6. Click OK to save your entries and close the Record Macro dialog box.
Macro recording begins immediately after dialog box closes.
7. Perform the sequence of actions in Arbortext IsoDraw that you want the example1 macro to perform, then choose > > .
| Selecting > pauses macro recording. No actions are recorded while Edit Animation is selected. To resume macro recording, close the Edit Animation or Timeline dialog box. (Closing one closes both.) |
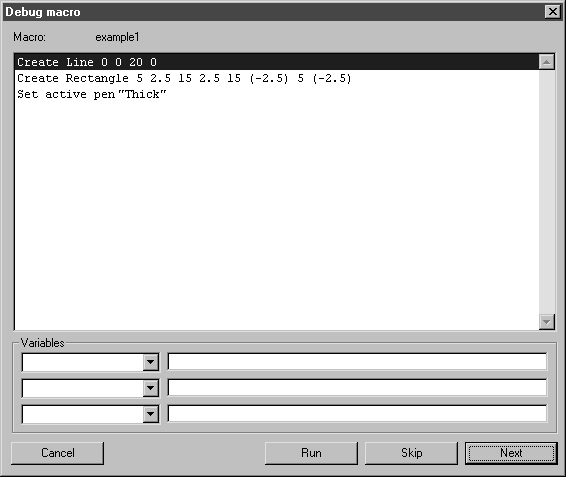
8. The macro is complete. The macro name example1 will now appear on the list of macros when you open the Macros menu. If you want to view the individual steps of the macro, select the Debug macro command, click on example1 and click OK to confirm.
The macro steps should be displayed in the dialog box as illustrated below.