Paths
In the Paths submenu, you will find four commands. Using the commands Join polylines and Join Béziers, you can join several polylines or Bézier paths to form a single path. The Generate contour command generates an outer contour from selected elements. The Create compound path command allows you to punch holes in filled areas.
Join Polylines
This command allows you to combine several lines or polylines to a single line. Various starting scenarios are possible:
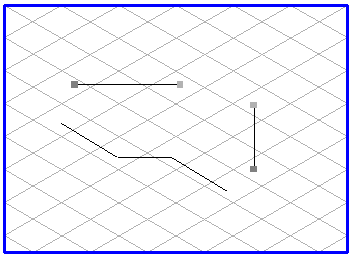
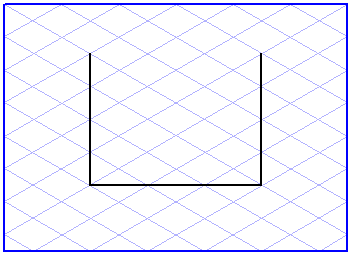
1. You want to join two lines to create a single polyline which is not closed. To do this, use the arrow cursor to click first one end of one line and then one end of the other line. The two points will appear selected (in the second selection color in color mode, in black on a monochrome screen). The two lines are interlinked automatically at these two end points when you choose > > .
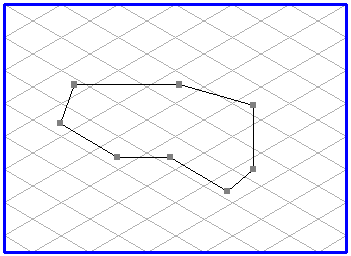
2. You want to join two or more lines to produce a single line path which is closed. To do this, select the required lines and choose > > .
If you click OK in the dialog box which then appears you will generate a closed line path.
| It is advisable when joining several lines to apply the procedure set out under 1. several times in succession. Only then can you unambiguously determine which ends are joined to each other. The new elements produced by connecting lines are always assigned to the layer which is currently active. Bézier paths are not taken into account when a line path is being created. |
Join Béziers
This command lets you combine several Bézier paths to form a single path. Various starting scenarios are possible:
1. You want to join two Bézier curves to create a single Bézier path which is not closed. To do this, use the arrow cursor to click first one end of one Bézier curve and then one end of the other Bézier curve. The two points will appear selected (in the second selection color in color mode, in black on a monochrome screen). The two curves are interlinked automatically at these two end points when you choose > > .
2. You want to join two or more Bézier curves to produce a single Bézier path which is closed. To do this, select the required Bézier curves and choose menu command > > .
If you click OK in the dialog box which then appears you will generate a closed Bézier path.
| It is advisable when joining several Bézier curves to apply the procedure set out under 1. several times in succession. Only then can you unambiguously determine which ends are joined to each other. |
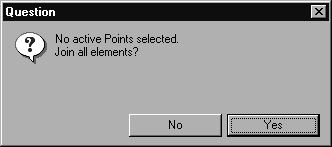
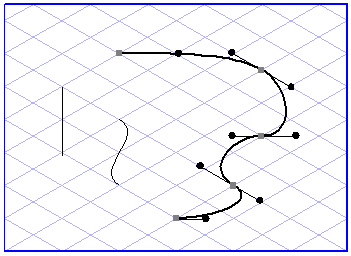
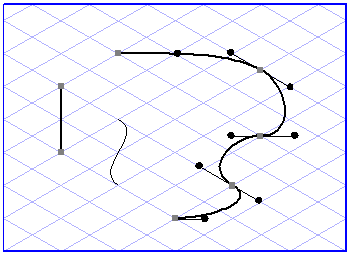
3. You have (also) selected elements which are not Bézier paths. After choosing menu command Join Béziers you will be reminded that no points of a Bézier path have been selected.
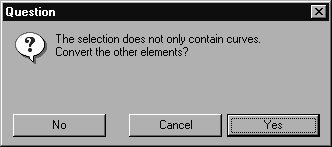
If you want to have a closed Bézier path as the outcome, click button OK. A new dialog box will appear which will ask you whether you want to convert the selected elements into Bézier paths.
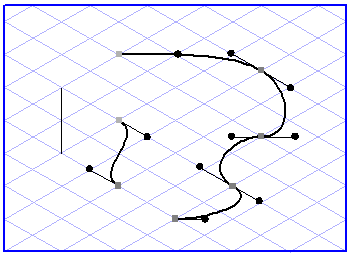
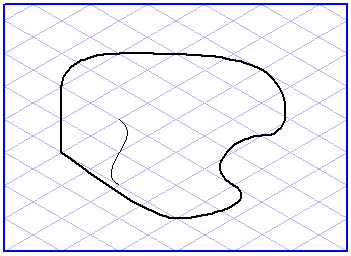
If you confirm here with Yes, all elements affected are converted to Bézier curves. An attempt is then made to close the curves. Several closed paths may result depending on the form of the individual elements.
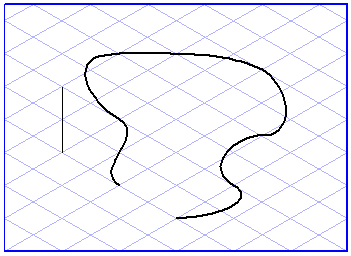
If you click No, only the selected Bézier parts are joined. The non-Bézier elements remain unaffected. Several closed paths can also result here.
The Cancel button allows you to exit the command without making any changes.
| The new elements produced by connecting Bézier paths are always assigned to the layer which is currently active. |
Generate Contour
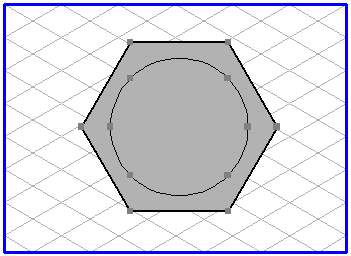
This command lets you generate the outer contour for selected elements. The result is a Bézier path which forms the boundary of the area enclosed by the elements.
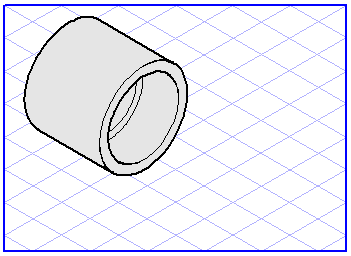
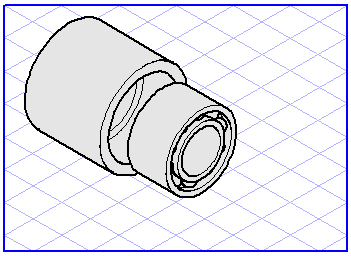
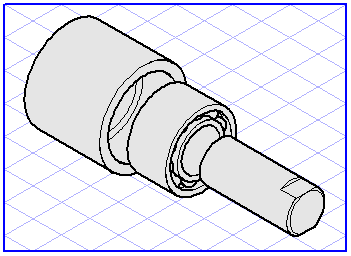
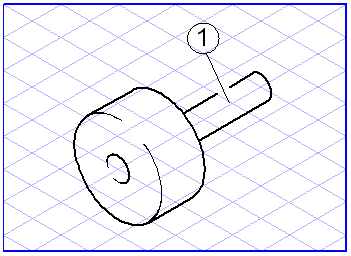
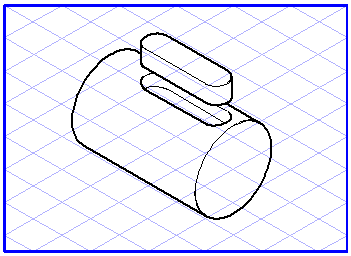
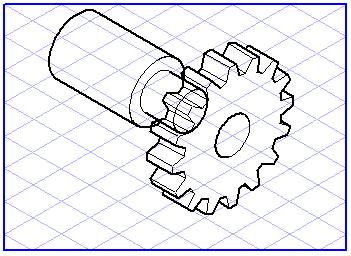
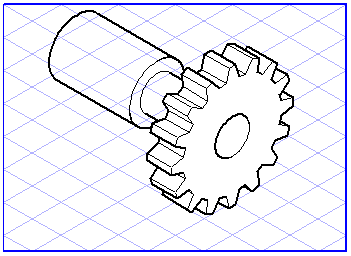
The contour can only be located if the selected elements enclose an area. The following examples show the elements and the resulting areas:
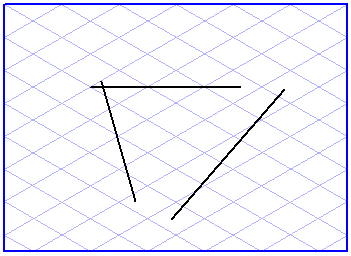
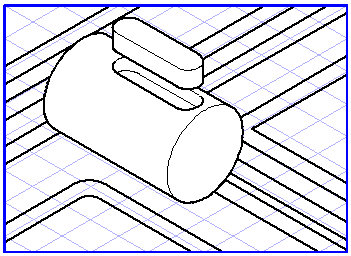
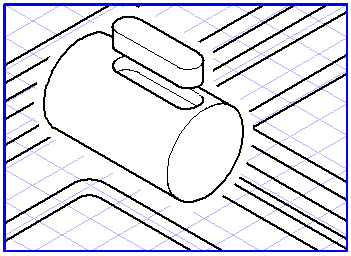
The illustrations which follow show typical cases where the contour cannot be located.
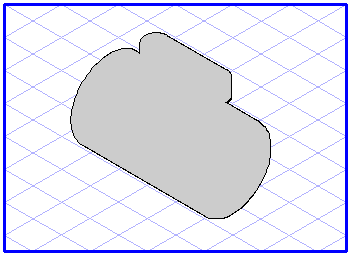
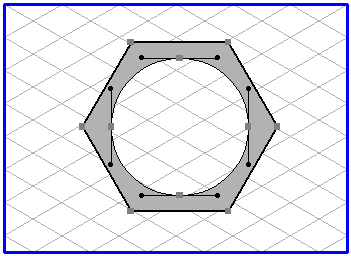
To generate a contour, select the required elements, then choose > > . Arbortext IsoDraw automatically generates the outer contour as a Bézier path. If a fill has been chosen, the path will be displayed with this fill. The path lies in front of the selected elements. To display the lines of the original elements, move the contour path into the background using > > .
The located outer contour is ideal for isolating a group of elements against the background. Fill the contour with the color white and position it behind the elements in the group. Now group the contour and the elements lying in front of it. You can now place the group in front of other elements in your illustration without these being visible.
You often may not want the lines of other objects in your illustration to extend right up to the lines of the group you want to isolate against the background. In this case, create a new pen of color white and approximate thickness 2 mm. Assign this pen to the outer contour. The two graphics show how this pen covers elements behind it.
Create Compound Path
Use this command to punch holes in filled areas. All starting elements are converted into a single Bézier path which describes the entire filled area.
Select a filled element and one or several smaller elements which lie in the filled area. It must be possible to fill these elements, i.e. they must be able to have their own fill. Then select the command from the menu.
The filled area now consists of a Bézier path which encloses all contours. By connecting the interior contours with the external contour, the holes are produced.