The Source Drawing
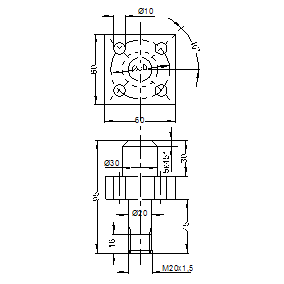
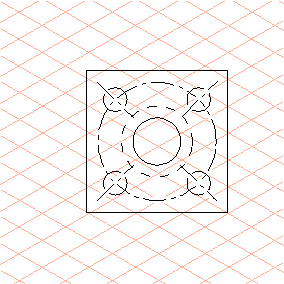
1. The figure below contains the technical drawing for the exercise. The front view of the drawing is to be projected into the major isometric axis using the Projection tool.
All the dimensions needed to complete the isometric drawing can also be found in the figure.
If you do not wish to draw the front view yourself, open the file projectionA_E (in the Arbortext-IsoDraw-install-path\Tutorial\Tutorial IsoDraw folder) which contains the completed front plane drawing.
2. You should now have the front plane drawing, as depicted in the figure, in front of you on the drawing sheet.


