Use the Macro that has been Created
1. This part of the exercise will illustrate how you can use the macro.
If you have not created the macro, open the file example1.idr from the Arbortext-IsoDraw-install-path\Tutorial\Tutorial IsoDraw folder.
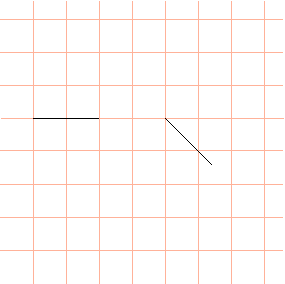
Open the file macro1.idr from the Arbortext-IsoDraw-install-path\Tutorial\Tutorial IsoDraw folder.
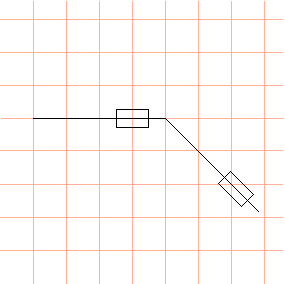
You will see two lines with a gap between them. The fuse symbol macro should be run at the end of the first line and the end of the second, oblique line.
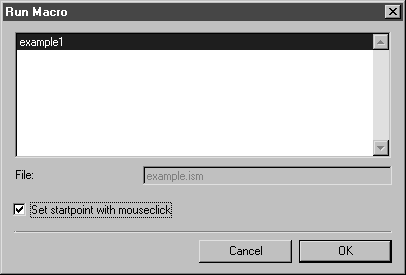
2. Select the more macros command.
The following dialog box is displayed.
3. Select example1 and check the Set startpoint with mouseclick option.
4. Confirm by clicking OK.
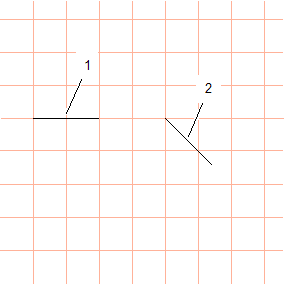
5. Place the arrow cursor over the end of the straight line (1) and click the mouse.
The fuse symbol appears with the connecting segments exactly between lines (1) and (2).
Now put the arrow cursor over the end of the oblique line (2).
6. Hold down the SHIFT key and click the mouse.
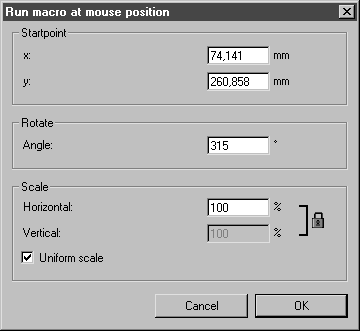
The following dialog box appears.
The fuse symbol will now be made to match the direction of the oblique line.
7. Enter 315 next to Rotate and confirm by clicking OK.
| If you do not know the exact angle, select the element. The angle is then indicated in the status bar and this can be entered in the dialog box. |
The fuse symbol now matches the direction of the line.
If you like, expand the circuit diagram further and use your own macros with symbols.