Exercise 1: Record a Macro for a Fuse Symbol
1. Select the > menu. Save the file as example1.idr.
2. Select the > > menu.
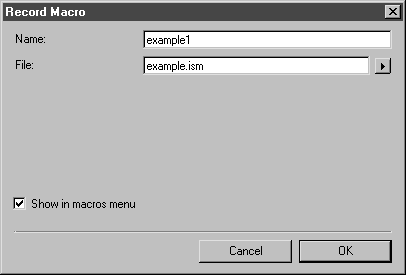
The following dialog box appears.
3. Enter example1 as the name for the macro.
| When recording macros in your work outside these exercises, you should use a name that reflects their function. |
4. Enter example.ism for the macro’s filename.
| The recorded macro is saved in the macro file. In your work outside these exercises you should also use a filename that reflects the described macro. |
5. Click OK to confirm your entries.
Macro recording can now begin.
6. Select the Line tool from the toolbox.
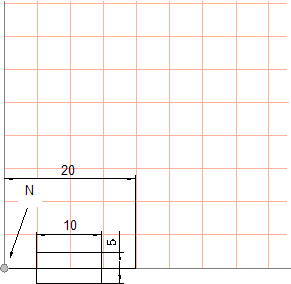
7. Zoom in on the origin (N) of the drawing sheet. The origin is at the bottom left.
8. Starting from the origin of the drawing sheet, draw a line with a length of 20 mm. Use the Thick pen.
9. Select the Rectangle tool from the toolbox.
10. Drag a rectangle with a Height of 5 mm and a Width of 10 mm. The start point for dragging is 5 mm to the right and 2.5 mm up from the origin.
11. Use the Thick pen for the rectangle.
The fuse drawing is complete. The figure shows the fuse drawn at the origin with the specified dimensions.
12. Select the > > menu.
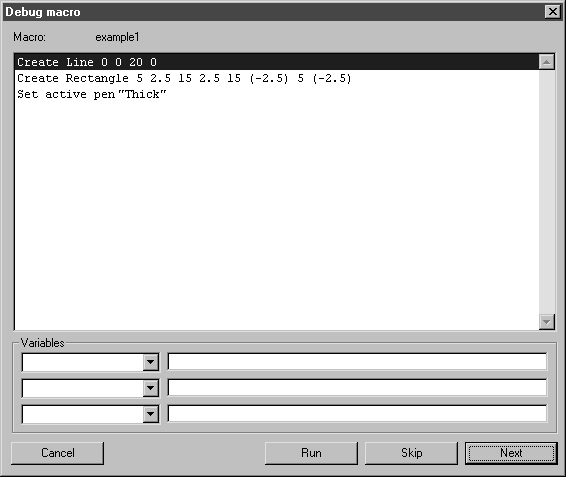
The macro is complete. It will now appear on the list of macros when you open the Macros menu. If you want to view the individual steps of the macro, select the Debug macro command, click on example1 and click OK to confirm.
The macro steps should be displayed in the dialog box as illustrated below.