在 Microsoft Entra ID 中创建企业应用程序
1. 在 Microsoft Azure 门户的 Microsoft Entra ID 菜单下,选择 Enterprise applications 选项。
2. 在右侧打开的页面中,单击 New application。
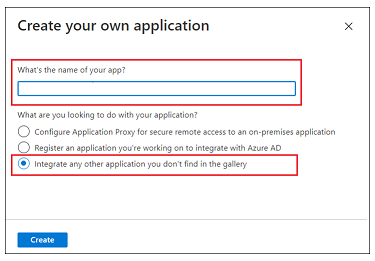
3. 在 Browse Microsoft Entra Gallery (Preview) 页面中,单击 Create your own application。
4. 输入应用程序名称、选择 Integrate any other application you don’t find in the gallery 选项,然后单击 Create。
5. 在 Overview 页面上,单击 Set up a single sign on。
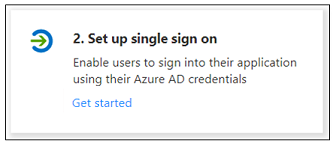
6. 在 Select a single sign-on method 屏幕上,选择 SAML 选项。随即将打开带有带编号步骤的 Set up Single Sign-On with SAML 页面。请完成下述详细步骤。
步骤 1 - 基本 SAML 配置
1. 在步骤 1 Basic SAML Configuration 中,单击 Edit。
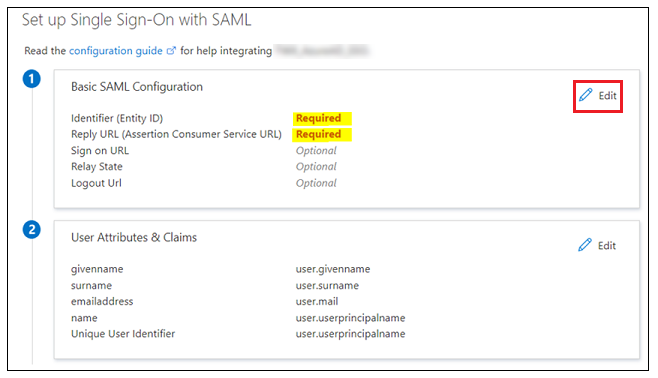
2. 在 Basic SAML Configuration 中,可输入以下信息:
◦ Indentifier (Entity ID) - Identifier 或 Entity ID 为 shibboleth2.xml 或 Metadata.xml 中提供的 Shibboleth (SP) 实体 ID。
▪ Shibboleth2.xml 位于 shibboleth_install_directory/etc/shibboleth/ 中。在 Linux 中,shibboleth_install_directory 为 / directory。
▪ Metadata.xml 可通过 URL https://<shibboleth_server:<port>/Shibboleth.sso/Metadata 从 Shibboleth (SP) 中下载。
◦ Reply URL (Assertion Consumer Service URL) - 必须使用以下格式:
https://<shibboleth_server:<port>/Shibboleth.sso/SAML2/POST。如果有多个 Reply URL,请确保使用默认值进行身份验证。
◦ Logout URL - 必须使用以下格式:
https://<shibboleth_server:<port>/Shibboleth.sso/SLO/SOAP
3. 单击 Save,然后关闭 Basic SAML Configuration。当系统提示您测试单一登录时,请选择 No, I’ll test later。
随即将重新显示 Set up Single Sign-On with SAML 步骤,并输入 Identifier、Reply URL 和 Logout URL 值。
步骤 2 - 用户属性和声明
1. 在步骤 2 User Attributes & Claims 中单击 Edit。
2. 在 User Attributes & Claims 中单击 Add new claim。
3. 在 Manage claim 页面中,输入以下信息:
◦ Name – 输入 UID。
◦ Source - 选择 Attribute 选项。
4. 在 Source attribute 字段中,输入 user.userprincipalname。
5. 单击 Save 并关闭 Manage Claim 窗口。当系统提示您测试单一登录时,请选择 No, I’ll test later。
User Attributes & Claims 步骤将以刚输入的值重新显示。
步骤 3 - SAML 签名证书
下载 Federation Metadata XML。下载完文件后,将其重命名为 idp-metadata.xml。