Example: Feasibility Study
Summary—This example shows you how to use a feasibility study to investigate if there is a solution that satisfies your design constraints.
Problem—Need to create a bottle with a desired volume within given dimension constraints.
Solution—Create an analysis feature to measure the volume of the part. Subsequently, you can perform a feasibility study to investigate if it is feasible to obtain a desired volume (design constraint) while maintaining the key dimensions (design variables) in a certain range.
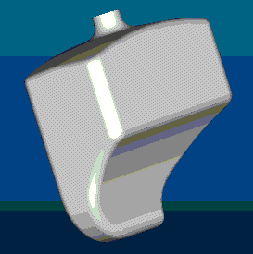
The next figure shows the BOTTLE part.
The following basic steps outline this example:
1. Create an analysis feature to create the volume parameter.
2. Click Analysis > Model > One-Sided Volume. The One Sided Volume dialog box opens.
3. Click the Analysis tab if it is not selected by default and select the type of analysis.
4. Click Saved to display and dynamically update the analysis while modeling.
5. Enter a name for the analysis, for example, analysis1.
6. Click the Definition tab to customize or edit your analysis.
7. Under Plane, the selected reference plane is displayed in the Plane collector and the result of the analysis is displayed in the Results box.
8. An arrow indicates showing the side for which the volume is calculated. Flip the arrow graphically to change the direction.
9. Click

to compute the analysis. The volume defined by the selected plane is displayed in an information window.
10. Create a feasibility study by clicking Analysis > Feasibility/Optimization. The Optimization/Feasibility dialog box opens.
11. Click Feasibility.
12. Under Design Constraints, click Add to add a parameter.
13. In the Design Constraints dialog box, Select ONE_SIDE_VOL:ANALYSIS1 as the parameter constraint.
14. Click Set and enter the desired volume.
15. Click OK.
16. Under Design Variables, click Add Dimension, select a dimension in the model that you want to vary, for example, the height dimension, and set its range. You can add another dimension by clicking Add Dimension.
17. Click Compute.
18. Creo Parametric performs computations and searches for the solution. If a solution is possible, Creo Parametric modifies dimensions to the values that give the desired volume. You can retain the modified model or undo the changes by clicking Undo.
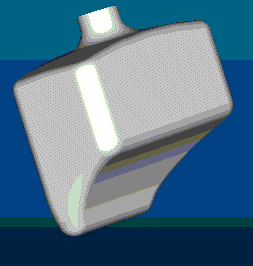
The next figure shows the modified bottle.


 to compute the analysis. The volume defined by the selected plane is displayed in an information window.