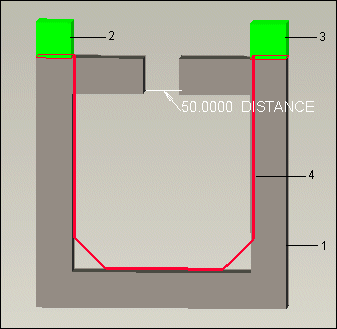
Example: Clearance and Creepage Paths
The following figure shows clearance and creepage paths between two components in an assembly model.
1. Clearance path between two components
2. Creepage path between two components
While calculating the creepage path, Creo Parametric finds the shortest path without jumps (if one exists) on the creepage surface, and then further shortens it by adding jumps of length not greater than the specified groove width across the gaps.
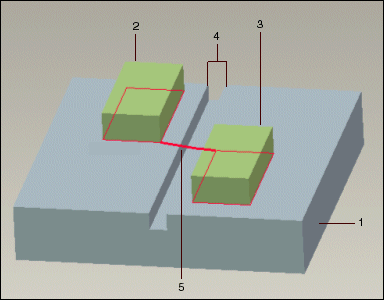
1. A creepage surface
2. Component A
3. Component B
4. Gap on the creepage surface
5. Creepage path
The above figure shows a creepage surface with a gap on it. A and B are the two conductive components on the creepage surface. The width of the gap is not greater than the groove width specified in the clearance and creepage file. Therefore, while calculating the creepage distance, Creo Parametric shorts the gap and considers the straight line from A to B as the creepage path.
1. A creepage surface
2. Component A
3. Component B
4. Component C
5. Creepage path
In the above figure, A, B, and C are conductive components on the creepage surface. While calculating the creepage distance between A and B, Creo Parametric does not short-circuit the spaces between A and C and C and B respectively, even if the gap between the component pairs is not greater than the specified groove width.
1. A creepage surface
2. Component A
3. Component B
4. Creepage path
In the above figure, even if you specify a groove width that is greater than the width of the gap shown above, Creo Parametric does not short-circuit through the space between A and B. The induced red path shown in the figure is the creepage path.