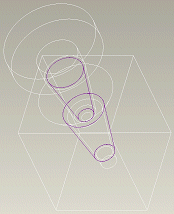

Display State | Display |
In the Wireframe display state, the cosmetic thread quilt is highlighted in purple. The crosshatch of the shaft overrides that of the hole. | 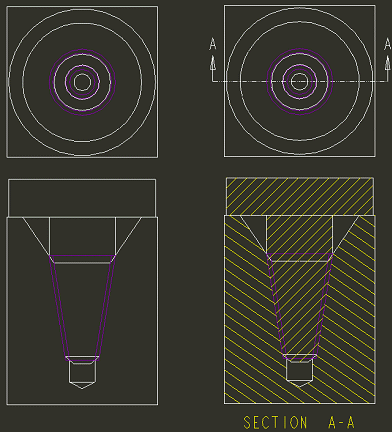 |
In the Hidden display state, the cosmetic thread quilt is not displayed. The side and the section views display incomplete threads. 270 degree arcs are created but hidden. | 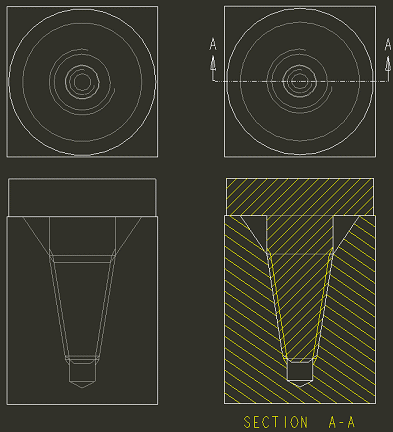 |
In the No Hidden display state, the cosmetic thread quilt is not displayed The side view does not display holes or shafts. The top and the section views are the same as the hidden line view. Hidden lines are not displayed. | 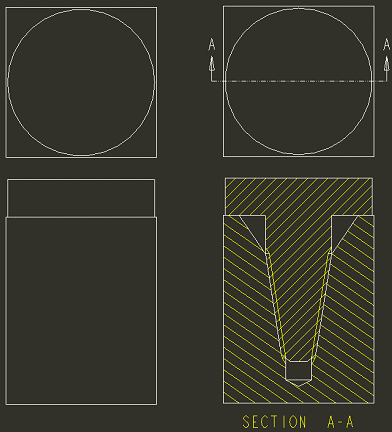 |
Display State | Display |
In the Wireframe display state, the cosmetic thread quilt is highlighted in purple. Crosshatches of the bolt and the hole overlap. | 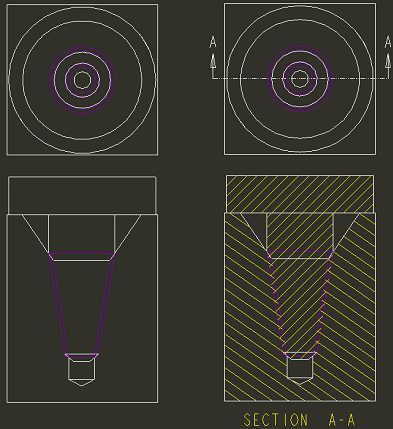 |
In the Hidden display state, the cosmetic thread quilt is not displayed. Solid gray arcs are displayed for all the threaded major and minor diameters. | 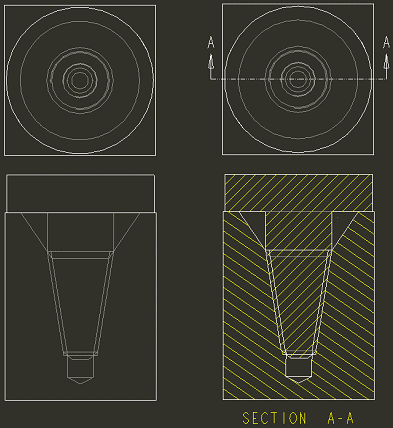 |
In the No Hidden display state, the cosmetic thread quilt is not displayed. The side view does not display holes or shafts. The top and the section views are the same as the hidden line view. Hidden lines are not displayed. | 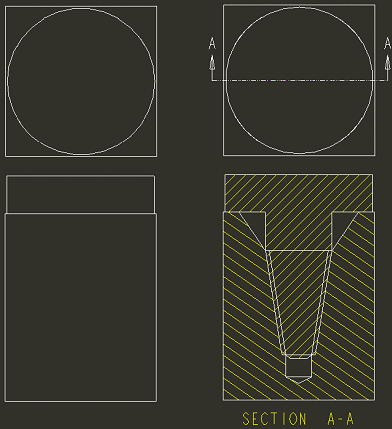 |
Display State | Display |
In the Wireframe display state, the cosmetic thread quilt is highlighted in purple. Crosshatches of the bolt and the hole overlap. | 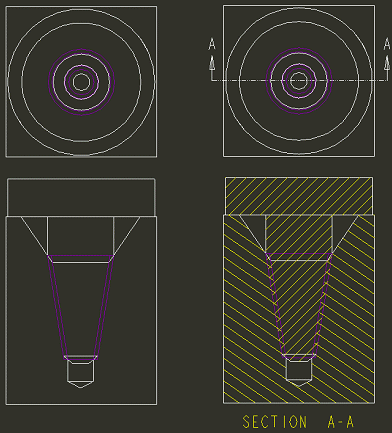 |
In the Hidden display state, the cosmetic thread quilts are not displayed. 270 degree arcs are created but hidden. | 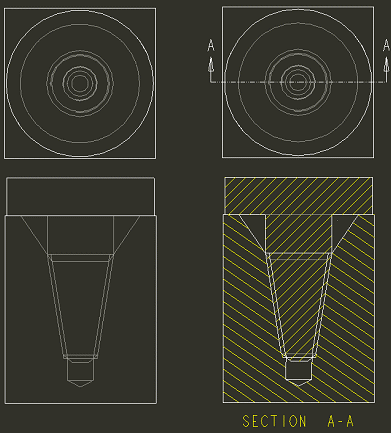 |
In the No Hidden display state, the cosmetic thread quilt is not displayed. The side view does not display holes or shafts. The top and the section views are identical to the hidden line view. Hidden lines are not displayed. | 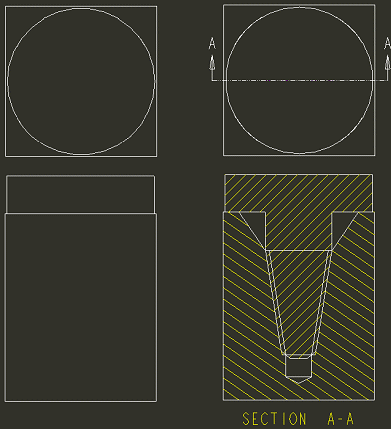 |