Completing the Installation
After configuring your settings, follow these steps to complete the installation:
1. Click Back and review information to make sure that your settings are correct.
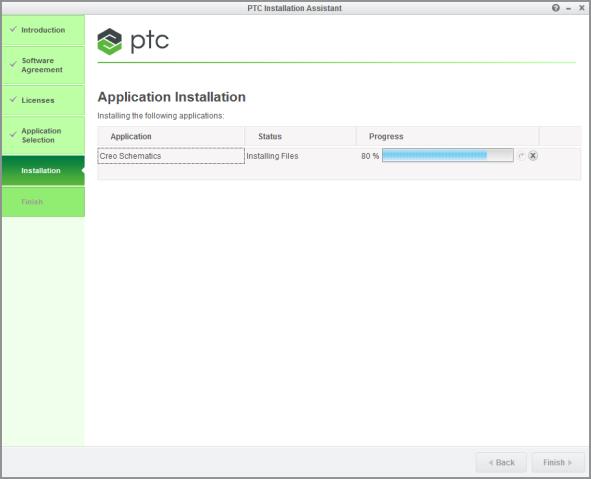
2. Click Install to begin the installation. The Installation Progress screen displays the status.
On this screen you can also perform the following operations using buttons to the right of the progress bars and below them:
◦ Click

to stop an installation.
◦ Click

to restart an installation.
◦ Click Back and review information.
◦ Click Finish after the applications are installed to close the Assistant. You can also click [X] at the top-right corner of the Assistant to exit the installer.


 to stop an installation.
 to restart an installation.