Example: Inlining a Group by Instancing
1. To instance a group do one of the following:
◦ Click > . The Catalog Selector opens.
◦ Click > . The Catalog Explorer opens.
2. Select the relevant folder in the Folders tree, and then select the group artifact from the Name list.
3. From the Groupshapes list, select the or group to instance and click OK. The Catalog Selector closes, or move the Catalog Explorer, the shape appears attached to the pointer.
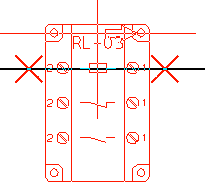
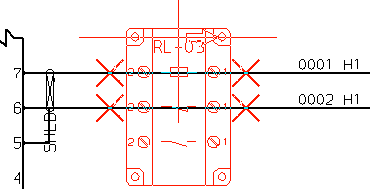
4. Position the pointer to place the ports over an existing fiber or cable in the diagram. A large X appears on each of the relevant ports, as shown below. Click to instance the shape. The fiber is segmented and inserted into the shape's ports. Repeat the step as required.
Inlining in a fiber:
Inlining in a cable:
The cable is segmented. Note the cable decorations on either side of the group.
5. Right-click and choose Exit Tool from the shortcut menu.


