Annotating Drawings
1. Press CTRL and select Extrude 1, Extrude 2, Round 1, and PIN_PLN in the Model Tree.
2. Right-click and click Show Model Annotations. The Show Model Annotations dialog box opens.
3. Click

and click
OK.
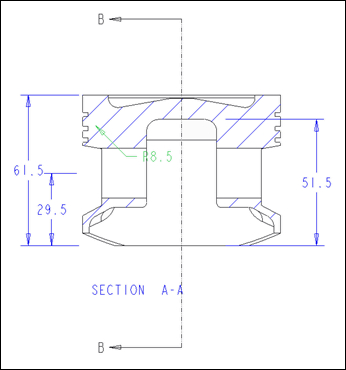
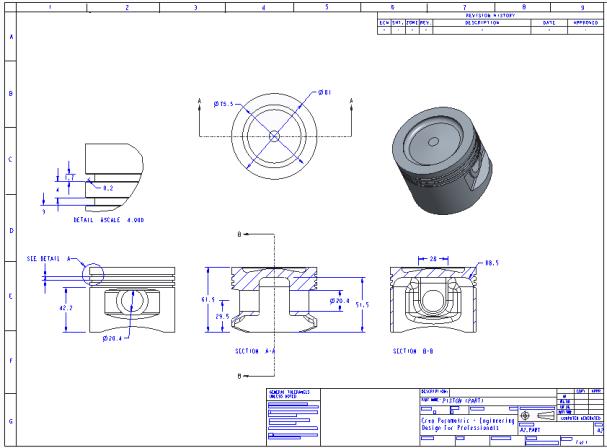
4. On the middle view, select the dimension R8.5.
5. Right-click and click Move to View.
6. Select the right view. The dimension appears in the right view.
7. Drag the dimension to the location as shown in the following figure.
8. Right-click the dimension and click Flip Arrows.
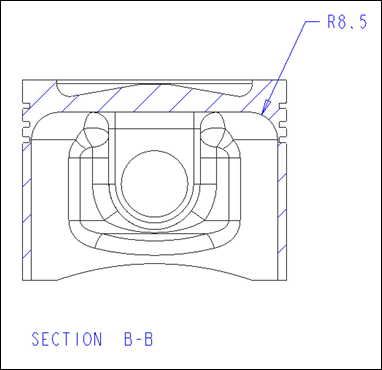
9. In the Model Tree, right-click Extrude 6, and click Show Dimensions by View.
10. Select the left view and drag the dimension as shown in the following figure.
11. Click the Annotate tab.
12. Click
 Dimension
 from the
Annotate group.
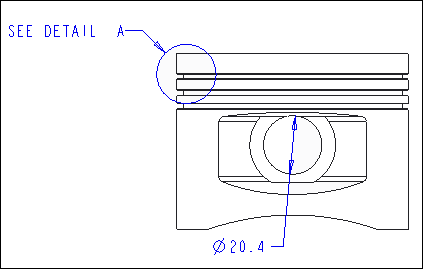
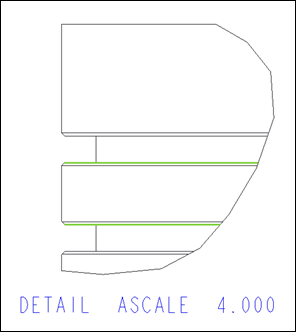
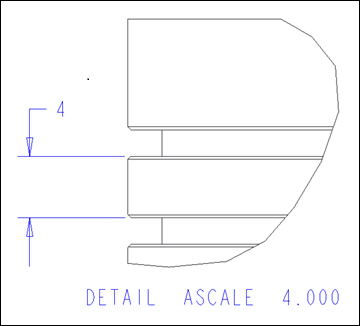
13. On the detailed view, press CTRL, and select the two edges as shown in the following figure.
14. Middle-click to place the dimension.
15. Create dimensions for the other views in the similar manner.
On the Quick Access toolbar, click
 Save
Save and then click
 Close
Close.