練習 3 - 建立無外部參照的扣件
Creo Intelligent Fastener 的預設設定是使用外部參照放置扣件。根據您公司的指導原則,可以將此設定變更為不使用外部參照。
1. 在 Creo Parametric 中,將工作目錄設定為 <已下載檔案位置>\IFXTraining\IFX_Asm\Exercise3 並開啟 ifx-exercise-3.asm。
2. 按一下 > >  「選項」(Options)。「Intelligent Fastener 選項」(Intelligent Fastener Options) 對話方塊即會開啟。
「選項」(Options)。「Intelligent Fastener 選項」(Intelligent Fastener Options) 對話方塊即會開啟。3. 將「一般」(General) 選項 USE_EXTERNAL_REFERENCES 的值設定為「否」(NO)。
4. 按一下「確定」(OK),以確認變更並關閉對話方塊。
5. 按一下 >  「已存定向」(Saved Orientations),然後按一下 GLASS。
「已存定向」(Saved Orientations),然後按一下 GLASS。6. 按一下 > >  「在參照上組裝」(Assemble on reference)。「選取參照」(Select References) 對話方塊即會開啟,並會啟動「定位參照」(Position Reference) 方塊。
「在參照上組裝」(Assemble on reference)。「選取參照」(Select References) 對話方塊即會開啟,並會啟動「定位參照」(Position Reference) 方塊。7. 如以下清單所述選取參照︰
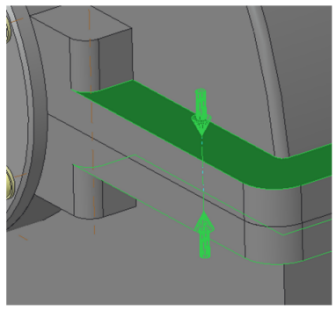
a. 選取軸 AA_2 作為「定位參照」(Position Reference)。
b. 如下圖所示針對「螺絲頭」(Screw head) 與「螺帽或螺紋」(Nut or Thread) 選取放置曲面,然後按一下「確定」(OK)。「螺絲扣件定義」(Screw Fastener Definition) 對話方塊便會開啟。
8. 在「螺絲」(Screw) 方塊中選取 ISO 4014-5.6。
9. 在「螺紋」(Thread) 方塊中選取 M12。
10. 按一下  「自動永遠設定長度」(Permanently set length automatically)。
「自動永遠設定長度」(Permanently set length automatically)。11. 按一下「確定」(Ok),關閉對話方塊。「其他選項」(Additional Options) 對話方塊開啟。
12. 選取 > ,並按一下「確定」(OK)。
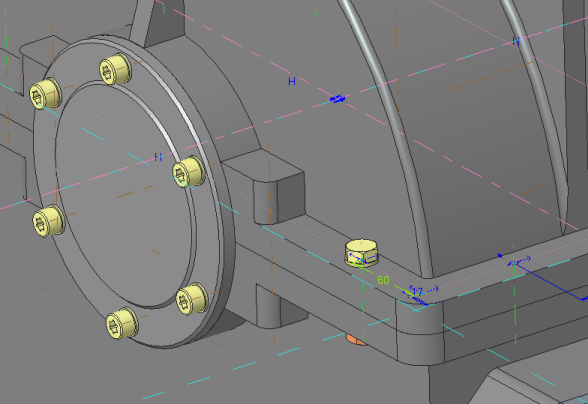
13. 在「模型樹」中,按一下 Pattern 1 of AA_1 並選取「編輯尺寸」(Edit Dimensions)。
14. 如圖所示將值從 60 變更為 70,然後再生零件。
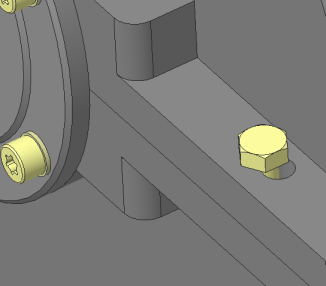
由於組態變更,扣件沒有外部參照。因此,孔不會再與螺絲對齊。 |
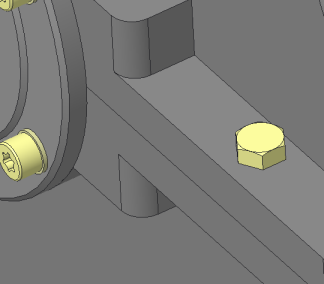
15. 按一下 > > 。孔即會與扣件對齊,如右圖所示。
未對齊 | 對齊 | |
|---|---|---|
 |  |
16. 儲存並關閉組件。
17. 按一下 > > 。「拭除未顯示項目」(Erase Not Displayed) 對話方塊開啟。
18. 按一下「確定」(OK) 以拭除記憶體中的所有檔案。