Example: Machining an Undercut
To machine the Undercut feature shown in the previous illustration:
1. Set up a Side Mill tool. In the Tools Setup dialog box, create a new tool, change Type to Side Milling and modify the tool parameters as needed. Make sure that the difference between the Cutter Diameter and the Shank Diameter is greater than the difference between the diameters of the flange and the lower portion of the shaft on the model, so that the tool can reach in and machine the whole Undercut. Also make sure that the Cutter Width of the tool is smaller that the distance between the top of the rectangular base and the bottom of the flange.
2. In the Undercut Milling dialog box, use the default settings:Rough Undercut, Multiple Cuts, One Direction, Clear Part, and Retract.
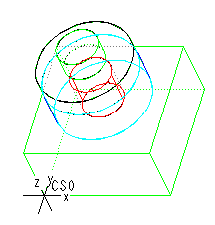
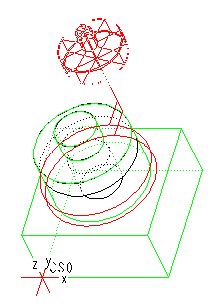
The resulting tool path is shown in the following illustration.
The tool makes two cutting passes: one at the top of the Undercut, machining the Ceiling, the second at the bottom, machining the Floor. It leaves the specified amounts of stock on the Ceiling, Floor, and Hard Walls.
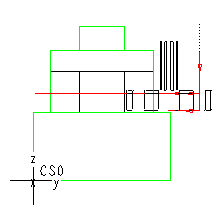
The following illustration shows the side view of the model when the Side Mill tool starts machining the Ceiling of the Undercut.
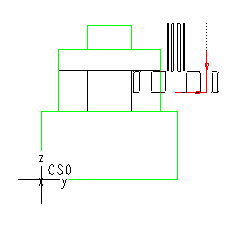
The next illustration shows the side view of the model after the first machining pass, when the Side Mill tool starts machining the Floor of the Undercut.