Confirming Optimized Results
1. Click >  Simulate. A message regarding licensing opens and prompts you to convert the model and enter standard Creo Simulate.
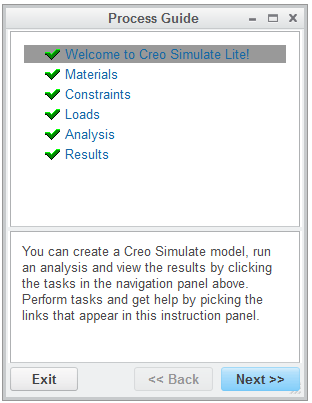
Simulate. A message regarding licensing opens and prompts you to convert the model and enter standard Creo Simulate.2. Click No to open Creo Simulate Lite without converting the model. The Process Guide dialog box opens.
3. Click Analysis and then click Run in the instruction area to start the analysis. When the analysis completes the Diagnostics : Analysis MyAnalysis dialog box opens.
4. View the warning messages that are generated during the analysis.
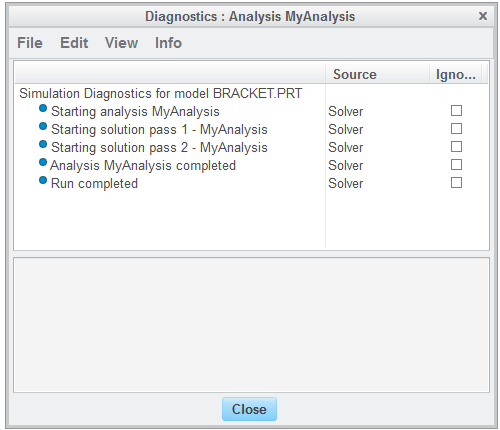
5. Click Close to close the Diagnostics : Analysis MyAnalysis dialog box.
6. Click Next to enter the Results section.
7. Click results in the instruction area.
Three windows open, displaying different results of the analysis. These windows can be adjusted to show different results as needed. You will notice that both the stress and displacement has decreased, with minimal impact on the products mass and the location of the highest stress has also moved.
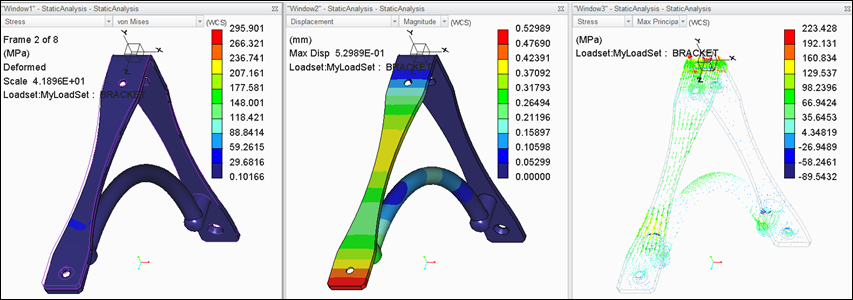
8. In Window1, click the arrow next to Stress and select Displacement.
9. Click the arrow next to von Mises and select Magnitude. Notice that the bracket displacement has been reduced further.
Congratulations you have completed the Creo Simulate Lite tutorial.