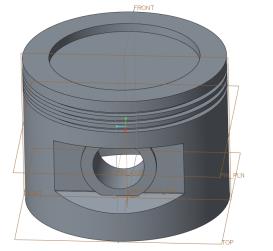
Finalizing the Piston
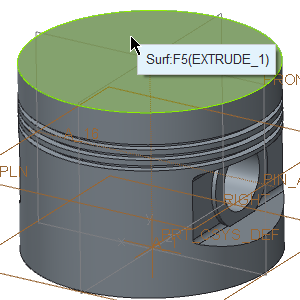
1. On the Model tab, click  Extrude from the Shapes group. The Extrude tab opens.
Extrude from the Shapes group. The Extrude tab opens.2. Select the top surface of the piston as shown in the following figure. The Sketch tab opens.
3. Click  Center and Point from the Sketching group.
Center and Point from the Sketching group.a. Click at the intersection of the reference lines to define the center of the circle.
b. Move the pointer away and click again to specify the diameter.
4. Middle-click to exit the Center and Point tool.
Center and Point tool.5. Edit the diameter value to 60.
6. Right-click in the graphics window and click  Save the sketch and exit.
Save the sketch and exit.7. Edit the depth value to 3.5.
8. Right-click in the graphics window and click Flip Depth Direction. Remove Material is automatically selected.
9. Click  .
.
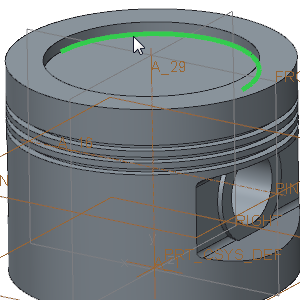
.10. On the Model tab, click  Round from the Engineering group. The Round tab opens.
Round from the Engineering group. The Round tab opens.11. Select the inside edge of the Extrude 8 as shown in the following figure.
12. On the Round tab, edit the value to 4, and press ENTER.
13. Click .
.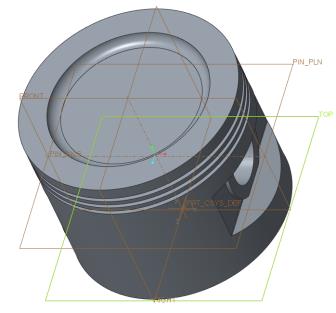
Congratulations! You have completed this exercise.
From the Quick Access Toolbar, click  Save and then click
  Close for all active windows.
Save and then click Close for all active windows.