Creating Datum Features
1. On the in-graphics toolbar, click  Saved Orientations, and click Default Orientation.
Saved Orientations, and click Default Orientation.2. On the View tab, click  Plane Tag Display and
  Axis Tag Display from the Show group. The datum names now appear in the graphics window.
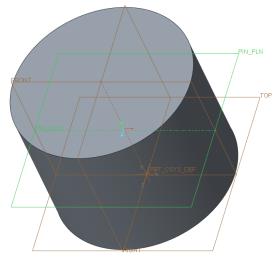
Plane Tag Display and Axis Tag Display from the Show group. The datum names now appear in the graphics window.3. In the graphics window, select the datum plane TOP.
4. On the Model tab, click  Plane from the Datum group. The Datum Plane dialog box opens.
Plane from the Datum group. The Datum Plane dialog box opens.5. In the Datum Plane dialog box, do the following:
a. In the Placement tab, set the offset value to 29.5 in the Translation box.
b. Click the Properties tab and type PIN_PLN in the Name box.
c. Click OK. A new datum plane is created offset from the datum plane TOP.
6. On the Model tab, click  Axis from the Datum group. The Datum Axis dialog box opens.
Axis from the Datum group. The Datum Axis dialog box opens.7. In the Datum Axis dialog box, do the following:
a. Press CTRL and select the datum planes PIN_PLN and FRONT in the Model Tree. The datum planes are selected and appear in the References box.
b. Click the Properties tab and type PIN_AXIS in the Name box.
c. Click OK.