Exercise 2—Changing the Scene
1. If your model from Exercise 1 is still open, go to step 5, otherwise, go to step 2.
2. Open chair.asm. This is the model that you saved after completing Exercise 1.
3. To begin rendering, click > . The Render Studio tab opens in the ribbon and rendering begins.
4. Click  Perspective View to change the display from orthographic to perspective. This puts the part in the correct perspective before editing the scene.
Perspective View to change the display from orthographic to perspective. This puts the part in the correct perspective before editing the scene.5. Click  Scenes > . The Scene Editor dialog box opens.
Scenes > . The Scene Editor dialog box opens.6. Under Gallery, locate indoor_room_scene. Notice that the current default , chair_scene, is framed in light blue.
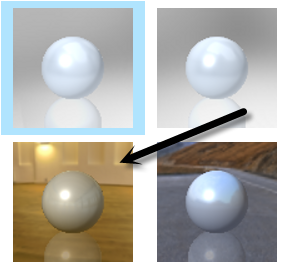
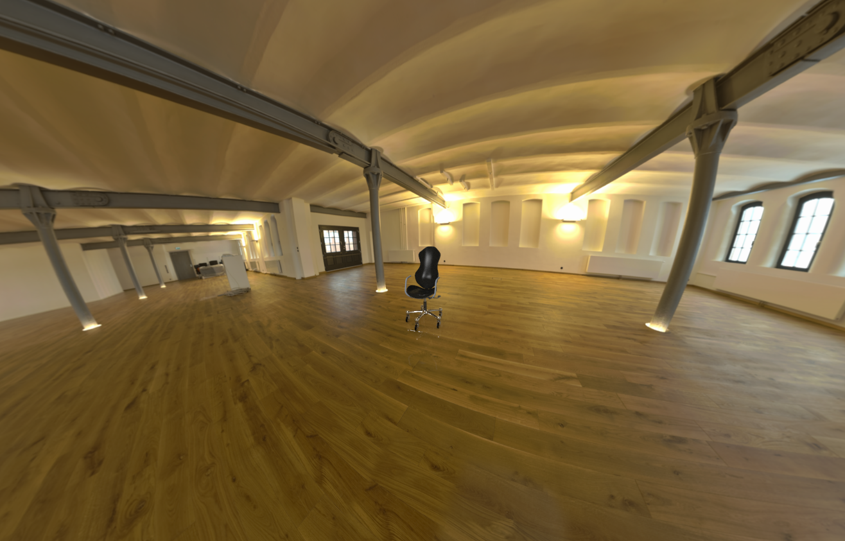
7. Double-click indoor_room_scene. The scene in which the chair appears changes. Experiment with the scene by zooming out from the model. As the chair appears smaller, you can see more of the scene.
When you add a scene, the background of the scene changes, new lighting features are added, and existing lighting changes:

8. In the Scene Editor dialog box, select the Save scene with model check box. This ensures that the scene you selected is saved with the model and appears the next time you open the model in Creo Render Studio.
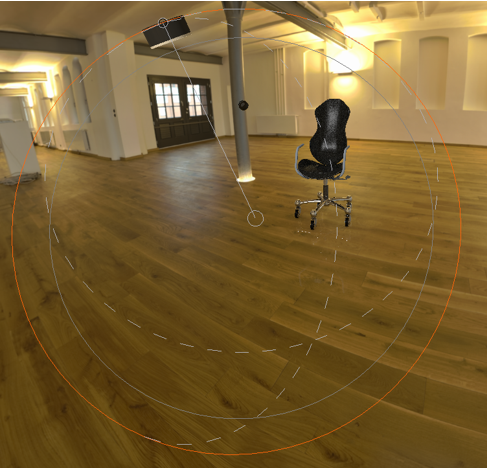
9. Click the Lights tab. From the Lights tab, you can move the two default lights, default distant and distant1 or add new lights. Experiment by clicking default distant and distant1 and see how the lighting changes. The lines represent the sphere of the light and the target for the spotlight.
default distant | distant1 |
 |  |
10. Experiment with lighting by performing the actions in the table below:
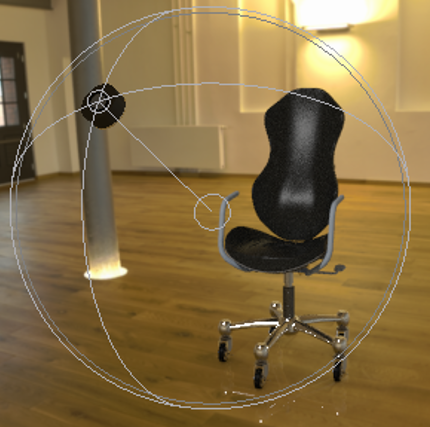
Click  to add a new spotlight. The spotlight, spot1, is added to the list. to add a new spotlight. The spotlight, spot1, is added to the list. | 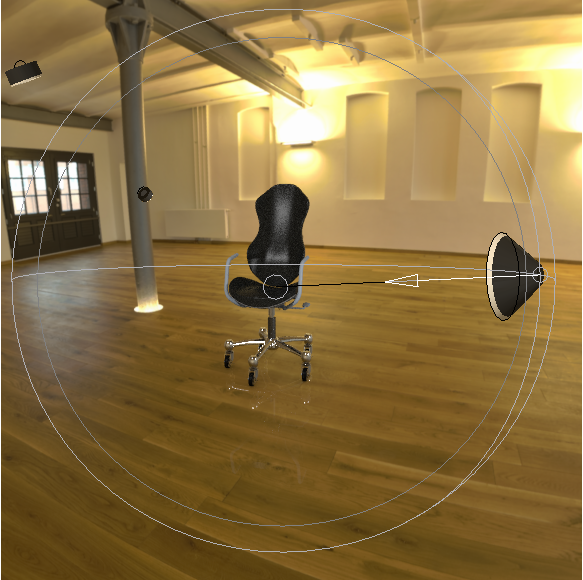 |
Increase the breadth of the light by dragging out the outermost circle surrounding the light. | 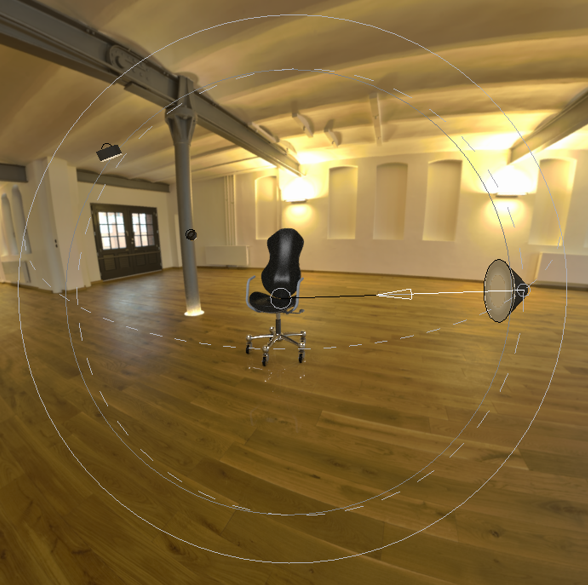 |
• In the Lock To box, select Model. This locks the light to the model • Move the Angle slider to 180 to widen the angle, making the light less concentrated. | 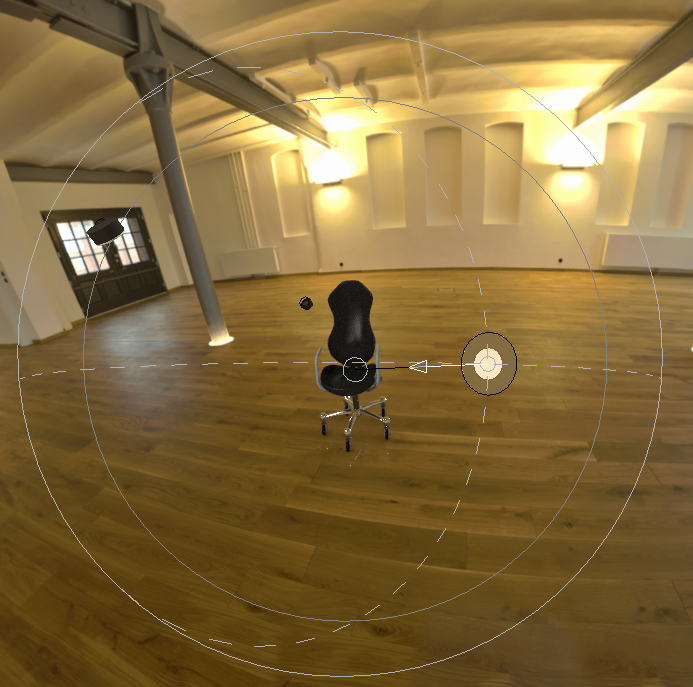 |
Select the Enable Shadows and Show Light check boxes and move the sliders to the values in the list below: • Focus—100 • Softness—30 • Intensity—5 The illuminated area of the chair changes. | |
11. Click Close to close the Scene Editor dialog box.
12. Continue by following one of the actions described below:
◦ Go to Exercise 3.
◦ Click > to save the model. You can continue with Exercise 3 at a later time.