Displaying Direction Fields in Results — Creo Simulation Live
Displaying a direction field is a more advanced way of displaying results than streamlines. A direction field displays a complete image at every step in the flow.
To Display Direction Fields in Results
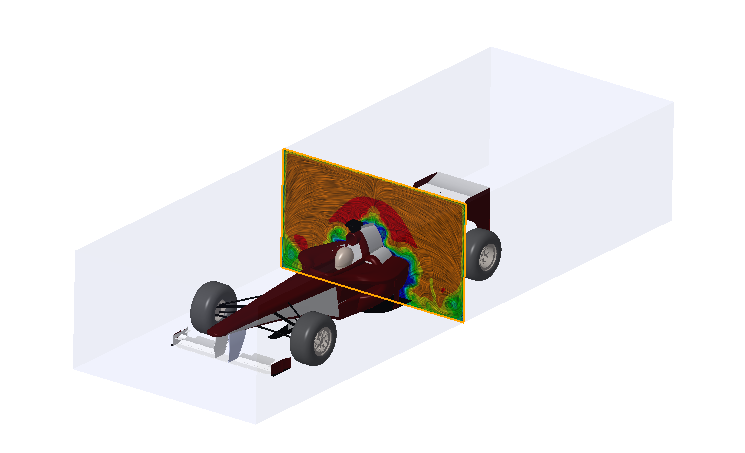
Click  Direction Field to view the default direction field as shown in the following figure.
 Direction Field to view the default direction field as shown in the following figure.
Adding Direction Fields
1. Click  Direction Field to display the default direction field.
 Direction Field to display the default direction field.
2. Right-click anywhere in the graphics window and select Add Direction Field to add a direction field to the display. A new direction field is created at the default position.
To Reposition a Direction Field
1. Ensure that Fluid Objects is selected for the Selection Filter at the lower right of the graphics window.
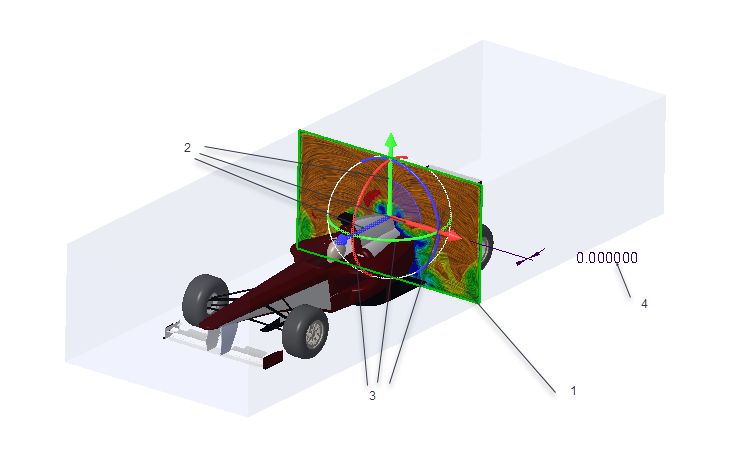
2. Click the direction field. A dragger appears with handles that you can use to move the direction field in a linear direction or to rotate it. When you move any of the dragger handles the offset dimension is also displayed. You can also double-click and change this value by a fixed amount.

1. Use dragger to reposition streamline
2. Use linear dragger handles to move direction field in a linear direction
3. Use arc dragger handles to rotate the direction field
4. Double-click and edit dimension value
3. Use the linear or arc handles to reposition the direction field.
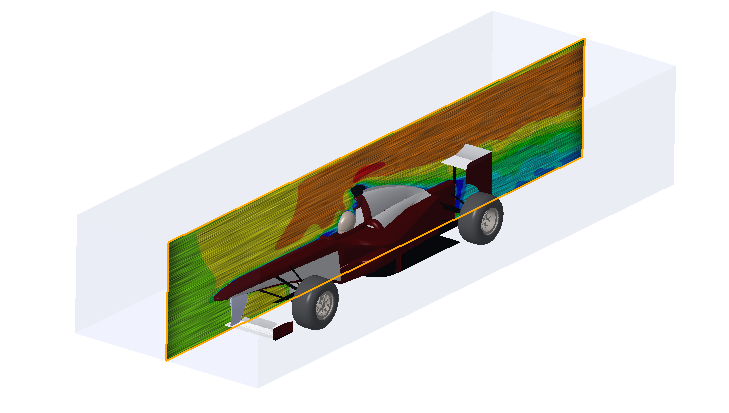
In this example the default direction field is rotated by 90 degree.

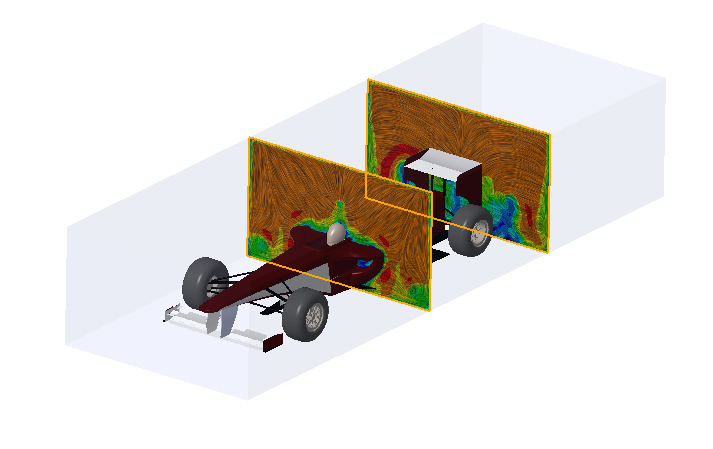
In this example one direction field has been moved in the positive Z- direction and the other moved in the negative Z- direction.

Deleting Direction Fields
1. Ensure that Fluid Objects is selected for the Selection Filter at the lower right of the graphics window.
2. Select a direction in the model. Right-click and select Delete Direction Field to delete the selected direction field. To delete all direction fields in the display, right-click anywhere within the graphics window and select Delete All Direction Fields.
To delete all direction fields you do not need to select Fluid Objects for the Selection Filter. |