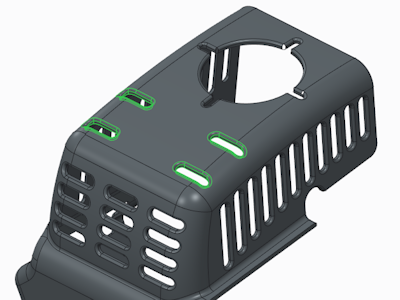
Example: Creating a Direction Pattern
Use the Direction pattern to create the pattern shown in the next figure.
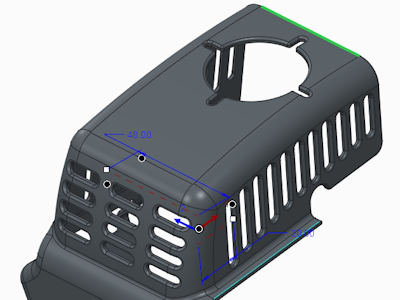
1. When patterning the slot in the first direction, select the highlighted edge as the pattern direction.
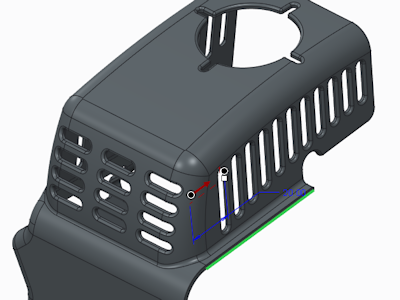
2. Specify the number of members and adjust the distance between the members by dragging the placement handle along the selected edge.
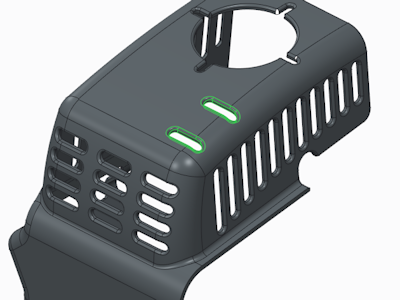
3. To add members in the second direction, select another edge to use as the pattern direction. Specify the number of edges and adjust the distance between members by dragging the handle along the second direction.
You can flip the direction of the pattern by entering a negative value for the increment, or by dragging the placement handle in the opposite direction. |