Workpiece Display
When you assemble or create a workpiece, or classify a component as a workpiece, it is displayed in green. This helps visually distinguish between the reference part and the workpiece geometry.
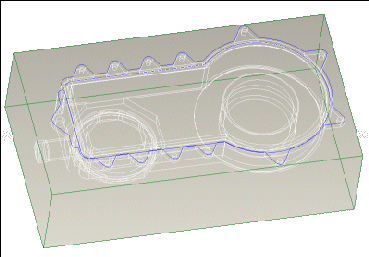
If your Display Style environment is set to Wireframe, Hidden Line, or No Hidden, the workpiece edges are displayed in green, while the edges of the reference part are displayed in Geometry color (usually white or black, depending on your system colors scheme). The following illustration shows a manufacturing model, with the reference part shown in white and the workpiece shown in green.

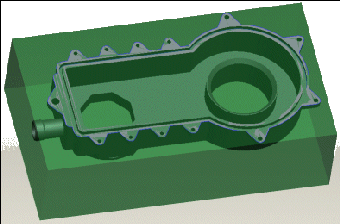
In Creo NC, the reference part is usually assembled inside the workpiece. If your Display Style environment is set to Shading, the workpiece would obscure the reference part. To prevent this, the workpiece in Manufacturing mode is displayed as semi-transparent. The next illustration shows the same manufacturing model with shading turned on.

Workpiece transparency is not implemented for manufacturing models created in Release 2001 and earlier. |
The workpiece transparency is controlled by the value of the configuration option mfg_workpiece_transparency at the time the workpiece is brought into the manufacturing model (assembled or created). You can change its value to a decimal in the range between 0.1 and 1. The bigger the value, the more transparent the workpiece. The default value is 0.5. Note that if you change the mfg_workpiece_transparency value, it affects only the newly assembled or created workpieces. When you retrieve a manufacturing model, its existing workpiece is not affected by the current value of the mfg_workpiece_transparency option.
To change transparency of an existing workpiece, click > > and change the transparency of the workpiece component by using the Model Appearance Editor dialog box.
The workpiece transparency is updated to the current mfg_workpiece_transparency value if you disassemble the workpiece and place it again (except when using the Place Back command), or redefine its assembly constraints. |