Example: Channel Machining
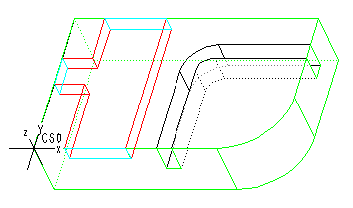
This example shows machining the Channel feature shown in the illustration below.

Select the following options in the Channel Milling dialog box:
• Rough
• Spiral
• Clear Part
• Stay Down
• Automatic
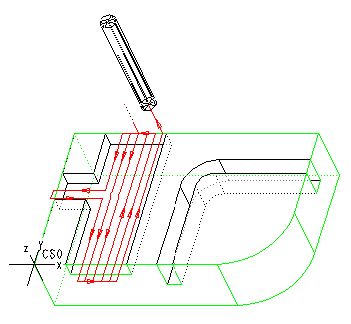
The resulting tool path is shown in the next illustration. The tool starts from the default Soft Wall, cuts down the center of the Channel, and then makes alternating cuts to the left and to the right from the first cut. It traverses the Soft Walls and does not retract between the cuts. When the tool reaches the widening of the Channel, the cuts follow the Hard Walls to remove all the material inside the Channel feature. When the tool encounters the third Soft Wall, it traverses this wall as well, and does not retract between the cuts, according to the selected options.
