Tutorial 6: Modifying Crosshatchings of Bodies in a Drawing View
In this tutorial, you learn how to modify crosshatchings of bodies in a drawing view.
|
|
• It is recommended that you work through the exercises sequentially during one Creo Parametric session.
• In the exercises that follow, you are instructed to use the menu on the Menu Manager.
|
This tutorial is divided into 3 exercises to make it easier to follow:
• Exercise 1: Set the Crosshatch Pattern—Set the PAT crosshatch pattern for all the bodies.
• Exercise 2: Modify the Crosshatching—Modify the crosshatching of one body.
• Exercise 3: Copy the Crosshatching—Copy the crosshatching from one body to another body.
Watch a video that demonstrates the steps in this tutorial:
Exercise 1: Set the Crosshatch Pattern
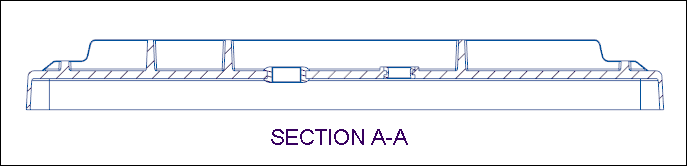
1. Set tutorial6_7 as the Working Directory and open multi_mtrl_inj_mold.drw. The SECTION A-A view appears along with other views.
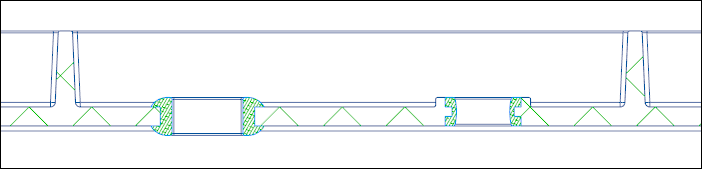
2. On the Model Tree, expand the Bodies node and select the HOUSING body. The selected body is highlighted in the drawing view.

If the selected body is not highlighted as shown in the previous graphic, click  Repaint in the graphics toolbar. Repaint in the graphics toolbar. |
3. On the Model Tree, select the OVERMOLD1 body. The selected body is highlighted in the drawing view.

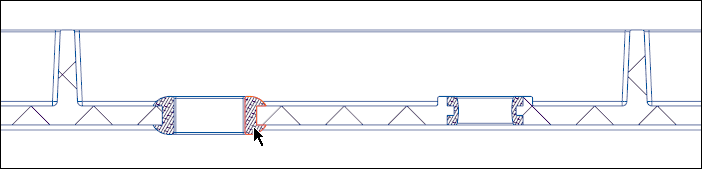
4. Double-click on the crosshatching lines. The MOD XHATCH menu appears on the Menu Manager.
5. Click X-Body. The crosshatching related to the HOUSING body is selected for modification.
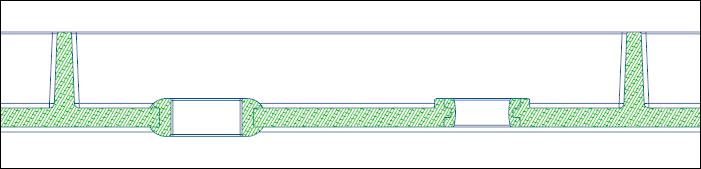
6. Click Hatch PAT. The PAT crosshatch pattern is set for the HOUSING body.
7. Click Next. The crosshatching related to the OVERMOLD1 body is selected for modification.
8. Click Hatch PAT. The PAT crosshatch pattern is set for the OVERMOLD1 body.
The following graphic shows the PAT crosshatch pattern set for both the bodies:

This concludes the first of 3 exercises.
Exercise 2: Modify the Crosshatching
1. Click Scale. The MODIFY MODE menu appears on the Menu Manager.
2. Click Half twice. The crosshatching of the OVERMOLD1 body updates.
This concludes the second of 3 exercises.
Exercise 3: Copy the Crosshatching
1. Click Previous. The crosshatching related to the HOUSING body is selected for modification.
2. Click Copy Hatch.
3. Select the crosshatching of the OVERMOLD1 body in the graphics window.
4. Click Done on the Menu Manager. The crosshatching of the OVERMOLD1 body is copied to the HOUSING body.
This concludes tutorial 6.