Example: Creating a Spiral Pattern
To create a spiral pattern, use the Axis pattern and vary the radial placement dimension of each member (the distance between the member and the central axis of the pattern).
1. Define the pattern as usual by specifying the number of members and the increment between the members.
2. Click the Dimensions tab.
3. Click the Direction 1 collector, and click under Dimension.
4. On the model, select the radial placement dimension that you want to vary. In this case, it is 55.
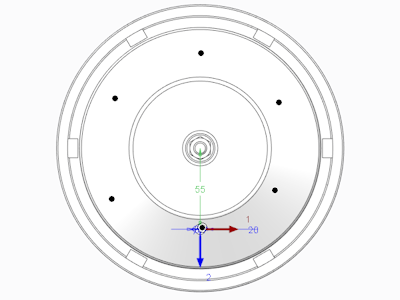
5. Click under Increment, and type the increment that will be used to increase the radial dimension for each member. In this example, enter 5. The resulting pattern appears as in the next figure.