About Lights
All renderings must have a light source. To achieve quality renderings, your rendering should have a defined light source for your model. Lighting will enhance your rendering by highlighting portions of the model, provide cast shadows or back lighting effects. You can add a maximum of six user-defined lights to your model to define your preferred lighting. By default, your model will have an environment ambient light controlled via the Environment tab in the Scene Editor dialog box.
Each light that you define for a model increases rendering time. The available types of light are:
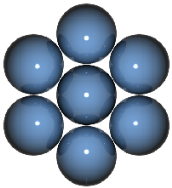
• Lightbulb—This light radiates from the center. The light reflected off a surface varies, depending on the surface position with respect to the light.

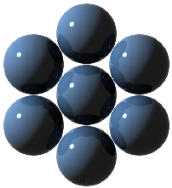
• Distant—Directional light casts parallel light rays illuminating all surfaces at the same angle, regardless of the position of the model. This type of light simulates the sun or any other distant light source.

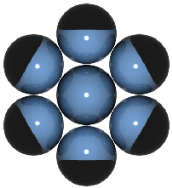
• Spot—A spotlight is similar to a lightbulb but its rays are confined within a cone, called the spot angle.

Using Lights
Lighting is crucial to a good rendering. Lighting creates dramatic effects in an image the same way photographers use lights to set up their subjects. If you have photographs of a similar design, try to recreate the lighting from the pictures. Experiment with lighting and keep the following tips in mind:
• A good lighting position to begin with is a little above the eyepoint and to the side (try a 45° angle), similar to a light positioned over your shoulder.
• Spread out your lights and do not make one light stand out too strongly.
• Your model will appear too harsh if you use lights emitting from only one side.
• Too many lights can cause a model to look washed out.
Remember that pure white lights are only created in a laboratory situation and are not found in the natural environment. However, use only a small amount of color for most of your lights. Colored lights enhance a rendered image but can alter the appearance you have applied to your part. Here are more tips you can use to define lights:
• To simulate an outdoor environment, use warm colors reflecting from below to simulate the earth and cool colors from above to simulate the sky.
• For a studio setting, use lights that are close to white.
• Use a directional light with HSV values of 10, 15, 100 to simulate sunlight.
• Use a directional light with HSV values of 200, 39, 57 to simulate moonlight.
• Use a point light with HSV values of 57, 21, 100 to simulate an indoor lamp.
Some of these recommendations include HSV values for lighting. These values may work for a majority of cases, but remember that HSV values look different depending on your monitor calibration. If you have customized your monitor, these values might not work for you.