Exercise—Adding Revolved Cross Sections
In this exercise, you learn how to add revolved cross sections to a drawing view.
Click here to download models for the exercises related to cross sections. Save the compressed folder detail_cross-section_models.zip to your computer and extract the folders.
Workflow
1. Open the model.
2. Add a revolved view of cross section ‘A.’
3. Add a revolved view of cross section ‘B.’
Open the Model
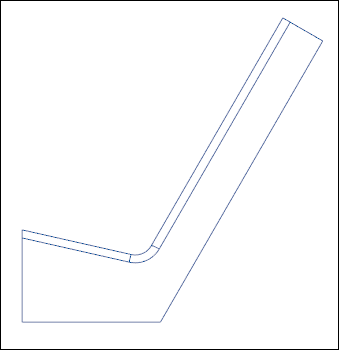
Set revolved_view as the Working Directory and open revolved_view.drw. The general view of the model appears.
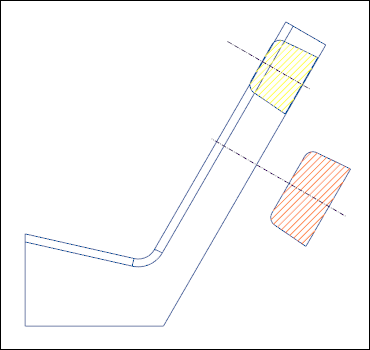
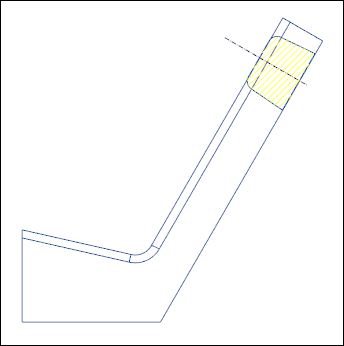
Add a Revolved View of Cross Section ‘A’
1. Click Revolved View.
2. Select the general view as the parent view for the revolved section.
3. Select a point on the general view. The Drawing View dialog box opens.
4. In the Cross-section list, select A.
5. Click > . The revolved view of cross section ‘A’ is added.
6. Right-click the general view and click  Lock View Movement to unlock it.
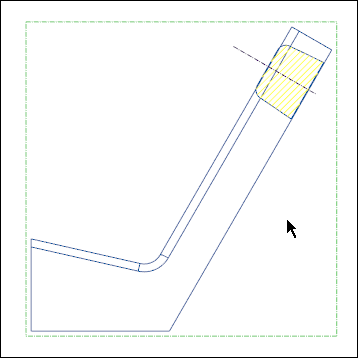
Lock View Movement to unlock it.7. Move the revolved view on the parent view profile as follows:
Add a Revolved View of Cross Section ‘B’
1. Click Revolved View.
2. Select the general view as the parent view for the revolved section.
3. Select a point on the general view. The Drawing View dialog box opens.
4. In the Cross-section list, select B.
5. Click > . The revolved view of cross section ‘B’ is added.