建立陣列
2. 按一下  「開啟」(Open)。「檔案開啟」(File Open) 對話方塊即會開啟。
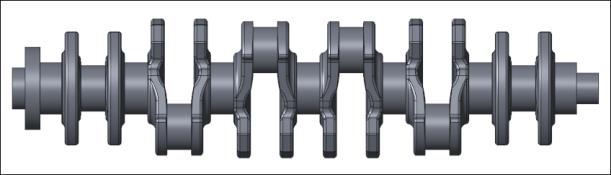
「開啟」(Open)。「檔案開啟」(File Open) 對話方塊即會開啟。3. 選取 crankshaft.prt 並按一下「開啟」(Open)。零件會在圖形視窗中開啟。
4. 在圖形工具列上,按一下  「基準顯示篩選器」(Datum Display Filters),並清除「(全選)」((Select All)) 核取方塊以清除所有基準顯示。
「基準顯示篩選器」(Datum Display Filters),並清除「(全選)」((Select All)) 核取方塊以清除所有基準顯示。5. 在圖形工具列中,按一下  「已存定向」(Saved Orientations),然後按一下
  「後」(BACK)。
「已存定向」(Saved Orientations),然後按一下 「後」(BACK)。6. 在「模型樹」中,以滑鼠右鍵按一下引伸 8,並按一下  「陣列」(Pattern)。「陣列」(Pattern) 標籤開啟。
「陣列」(Pattern)。「陣列」(Pattern) 標籤開啟。7. 按一下「尺寸」(Dimension) 旁邊的箭頭並選取「方向」(Direction)。
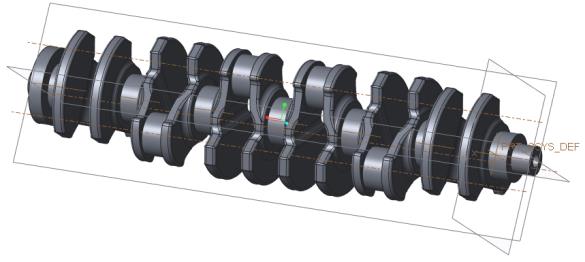
8. 在「模型樹」中,選取基準平面 RIGHT 作為方向參照。
9. 將成員數改為 5 並按下 ENTER 鍵。
10. 將陣列間距尺寸設定為 89.3 並按下 ENTER 鍵。
11. 按一下  。
。
。