Piston Part Drawing
Creo retains a model in the temporary memory until the model is erased, or until the application is closed.
1. With no model open, on the Home tab, click  Erase Not Displayed. The Erase Not Displayed dialog box opens.
 Erase Not Displayed. The Erase Not Displayed dialog box opens.
2. Click OK.
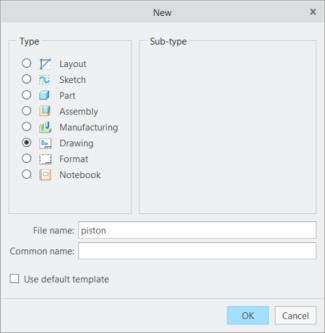
4. Click New. The New dialog box opens.
a. Under Type click Drawing.
b. In the File name box, type Piston.
c. Clear the Use default template check box.

d. Click OK. The New Drawing dialog box opens.
5. In the New Drawing dialog box, do the following:
a. Under Default Model, click Browse. Select piston.prt from the Open dialog box and click Open.
b. Under Specify Template, select Empty with format.
c. Under Format, click Browse. Click Working Directory under Common Folders from the Open dialog box. Select a2_part.frm and click Open.
d. Click OK.
6. In the graphics window, right-click and click General View. The Select Combined State dialog box opens.
7. Ensure that the No Combined State option is selected and click OK.
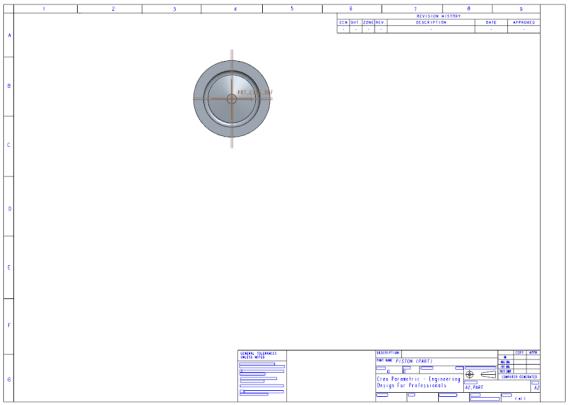
8. Click in the graphics window to define the CENTER POINT of the new drawing view. The Drawing View dialog box opens.
9. Under View Orientation, select TOP from the Model view names list box and click OK.

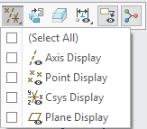
10. If the datum displays are displayed, on the Graphics toolbar, click (Select All) on  Datum Display Filters to clear all datum displays.
 Datum Display Filters to clear all datum displays.
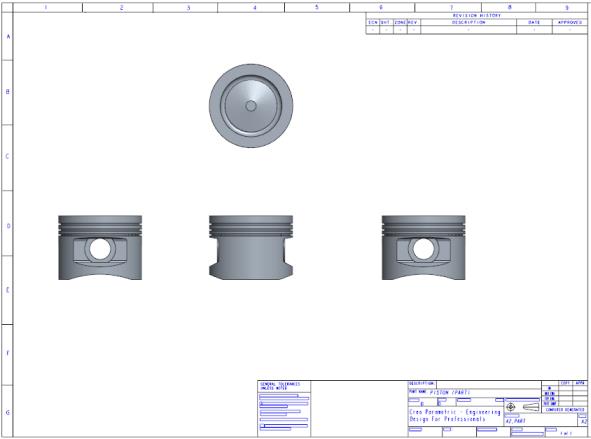
11. With the first view selected, right-click, and click Projection View. Click in the graphics window to place the projected view below the first view.
12. With the second view selected, right-click, and click Projection View. Click in the graphics window to place the projected view to the right of the second view.
13. Select the second view again, right-click and choose Projection View. Click in the graphics window to place the projected view to the left of the second view.
14. Select all four views, right-click, and click Properties. The Drawing View dialog box opens.
15. Under View display options, select No Hidden from the Display Style list.
16. Click OK.
