Exercise 1 —Assigning Meta Data
Click here to access the downloads page. Click English to download the CCX_Tutorial.zip folder to your computer and then extract it. The extracted folder contains the files that you will use in the tutorial exercises.
1. From the CCX_Tutorial.zip folder, open circuit_breaker_1.asm.
2. Click > . The Clearance and Creepage Analysis dialog box opens.
3. In the CTI column of the Meta Data tab, type 0 for CONTACT-BLADE-TOPC.
4. Click Part to alphabetically sort the list of parts.
5. Press and hold CTRL to select the following parts:
◦ CB_SPRING
◦ CONTACT-BLADE-TOP1-MIR1
◦ CONTACT-BLADE13
◦ CONTACT-BLADE14
6. Right-click one of the selected parts and select Set CTI Value.
7. In the Set CTI Value box, type 0 and click  .
.
 .
.8. Click  . The Apply CTI message box appears. Click Yes to apply CTI values to all selected parts.
 . The Apply CTI message box appears. Click Yes to apply CTI values to all selected parts.
9. Click  to add the COMPARATIVE_TRACKING _INDEX column to the Model Tree. In the COMPARATIVE_TRACKING_INDEX column you can see the CTI value assigned to a part.
 to add the COMPARATIVE_TRACKING _INDEX column to the Model Tree. In the COMPARATIVE_TRACKING_INDEX column you can see the CTI value assigned to a part.
10. On the Model Tree, change the CTI value of following parts to 0:
◦ CONTACT-BLADE8
◦ CONTACT-BLADE5
11. In the graphics window, select CB_BASE_2.PRT and click  Open. The CB_BASE_2.PRT opens in a new window.
 Open. The CB_BASE_2.PRT opens in a new window.
12. From the In Graphics toolbar, click  and select saved view 1. The orientation of the assembly changes.
 and select saved view 1. The orientation of the assembly changes.
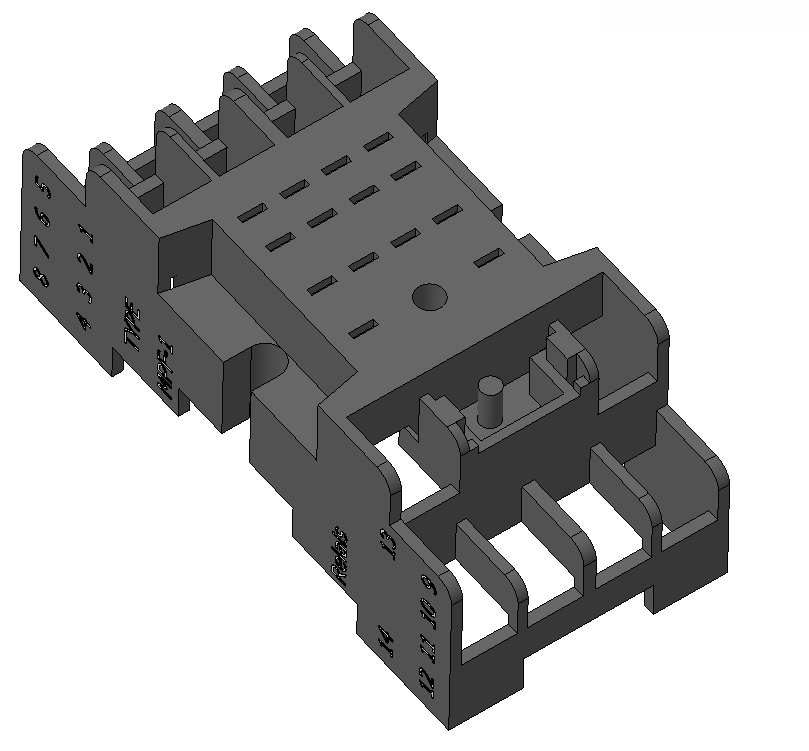
13. Click > . The Parameters dialog box opens.
14. Change the value of COMPARATIVE_TRACKING_INDEX parameter to 200.
15. In the Look In list, select Feature.
16. Click  and on the Model Tree select Extrude 1.
 and on the Model Tree select Extrude 1.
17. Click  to add a new parameter:
 to add a new parameter:
◦ Enter the parameter Name as COMPARATIVE_TRACKING_INDEX.
◦ In the Type list, select Integer.
◦ In the Value box, type 0.
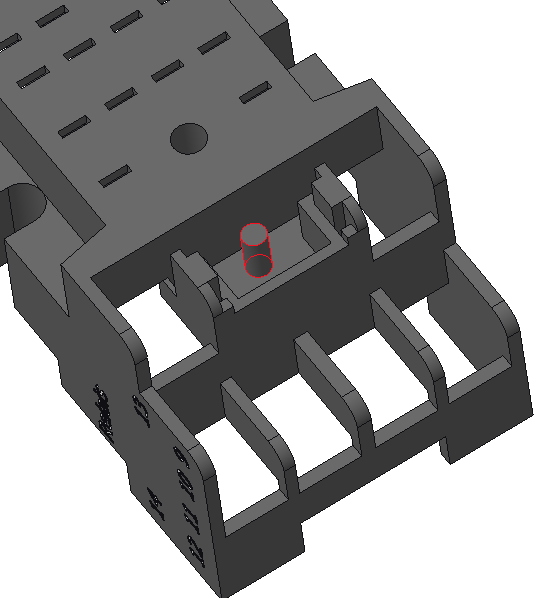
18. Click OK to close the Parameters dialog box.
19. Click  Close to close the CB_BASE_2.PRT part.
 Close to close the CB_BASE_2.PRT part.
20. With circuit_breaker_1.asm still open, click > . The Clearance and Creepage Analysis dialog box opens. The text color of CB_BASE_2 appears blue indicating that the part has a nonuniform CTI value.
21. Click  to reset CTI values from part properties.
 to reset CTI values from part properties.
22. In the Clearance and Creepage Analysis dialog box, right-click CB_BASE_2 and select Show Surfaces. The Part Surfaces dialog box opens. Surfaces that differ from the part-wide CTI value are listed.
In this tutorial, the part CB_BASE_2 has three surfaces, each with a CTI value of 0.
23. In the Part Surfaces dialog box, select 3 Surfaces with CTI 0. The surfaces are highlighted in the graphics window.
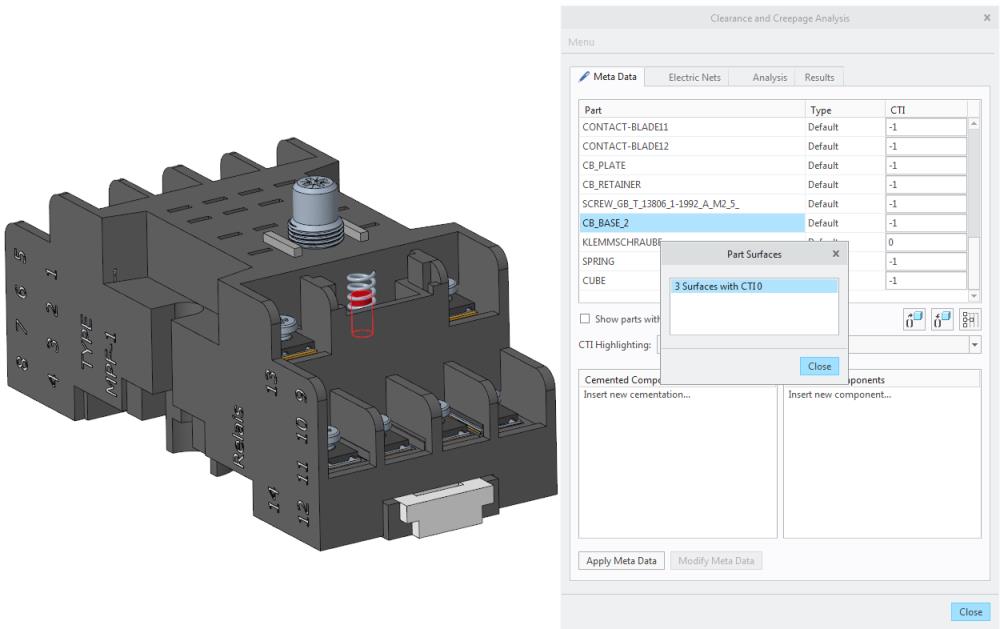
24. Click Close. The Part Surfaces dialog box closes.
25. In the CTI Highlighting list select Conductive (0). The conductive parts, which have a CTI value as 0 are highlighted.
26. Select the Show parts with undefined CTI value only check box. Parts that do not have a CTI value are listed in the graphics window and the Part list.
27. In the CTI Highlighting list select None.
28. Set the selection filter located in the lower right of the graphics window, to Part.
29. Select CB_BASE_1.PRT as shown in the figure.
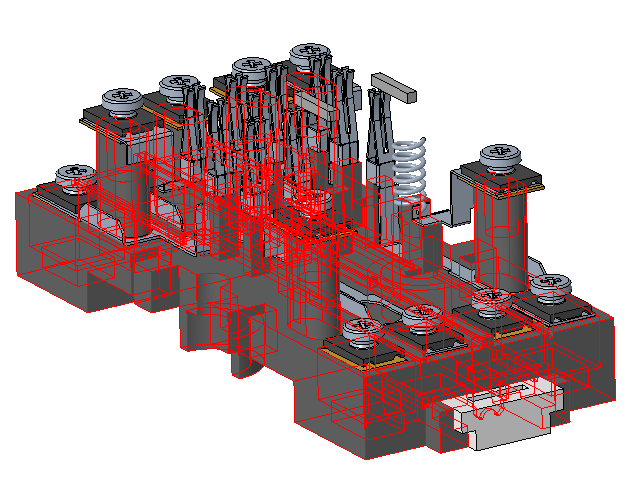
30. Right-click and select Set CTI Value in the graphics window.
31. In the Set CTI Value box, type 200 and click  .
.
 .
.32. Select an instance of part CB_PLATE as shown in the figure. Right-click and select Set CTI Value.
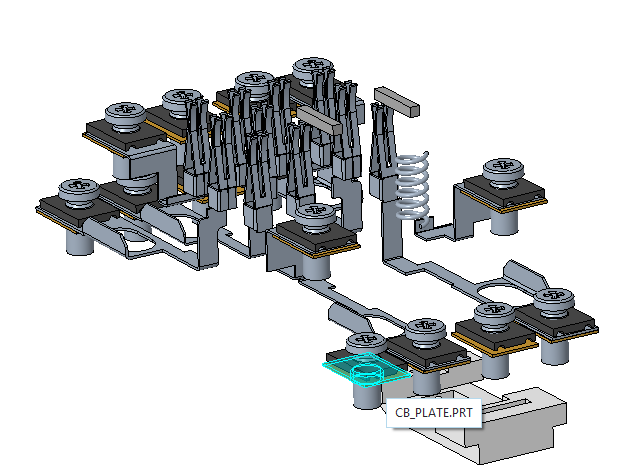
33. In the Set CTI Value box, type 100 and click  .
.
 .
.34. Select CB_RETAINER.PRT, SCREW_GB_T_13806_1-1992_A_M2_5_.PRT, and SPRING.PRT, as shown in the figure.
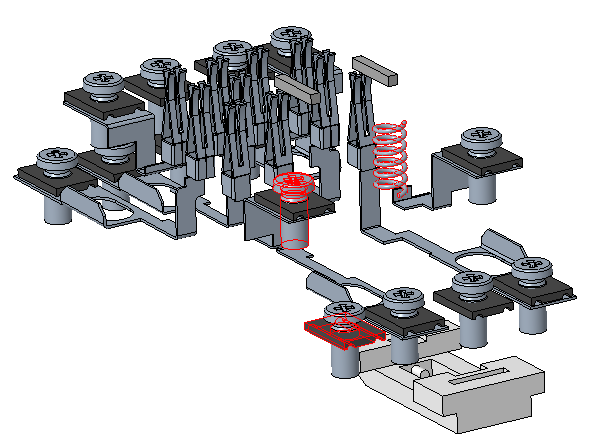
35. Right-click one of the selected parts and select Set CTI Value.
36. In the Set CTI Value box, type 0 and click  .
.
 .
.37. Click Part to organize the part list alphabetically.
38. In the Clearance and Creepage Analysis dialog box, select the following parts:
◦ CONTACT-BLADE-TOP1
◦ CONTACT-BLADE-TOP1_MIR
◦ CONTACT-BLADE-TOPA
◦ CONTACT-BLADE-TOPB
◦ CONTACT-BLADE-TOPD
◦ CONTACT-BLADE10
◦ CONTACT-BLADE11
◦ CONTACT-BLADE12
◦ CONTACT-BLADE6
◦ CONTACT-BLADE7
◦ CONTACT-BLADE9
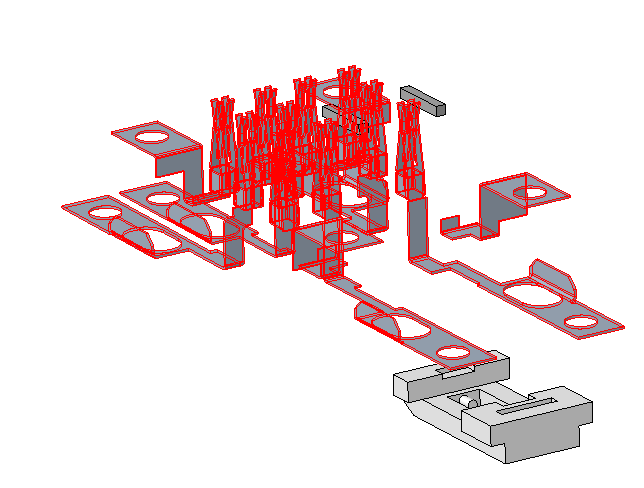
39. Right-click one of the selected parts, and select Set CTI Value.
40. In the Set CTI Value box, type 0 and click  . The CTI values for the selected parts change to 0.
 . The CTI values for the selected parts change to 0.
41. Select the following parts as shown in the figure:
◦ DINRAIL-KLEM.PRT
◦ CUBE.PRT
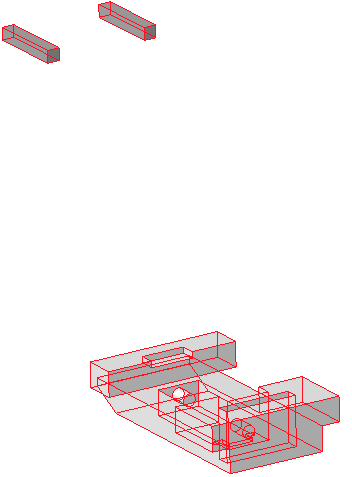
42. Right-click one of the selected parts, and select Set CTI Value.
43. In the Set CTI Value box, type 200 and click  .
.
 .
.44. Clear the Show parts with undefined CTI value only check box.
45. Click  . The Apply CTI dialog box opens. Click Yes to apply CTI values to all parts.
 . The Apply CTI dialog box opens. Click Yes to apply CTI values to all parts.
Cementing Components
1. Under Cemented Component Pairs, click Insert new cementation. The Select dialog box opens.
2. From the Model Tree, select CB_BASE_2.PRT, CUBE.PRT, and CUBE.PRT.
3. In the Select dialog box, click OK to add the components under the Cemented Component Pairs.
When you make your selections, the Select dialog box may be hidden behind the Creo Parametric window. |
4. Right-click CUBE-CUBE and select Remove.

Excluding Components
1. Under Excluded Components, click Insert new component. The Select dialog box opens.
2. From the In Graphics toolbar, click  and select saved view 4. This changes the orientation of the assembly.
 and select saved view 4. This changes the orientation of the assembly.
3. In the graphics window, select CB_SPRING.PRT and then in the Select dialog box, click OK.
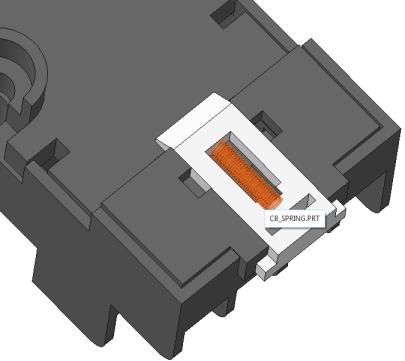
Defining Part Type
1. In the Clearance Creepage Analysis dialog box, under Part, select CB_SPRING.PRT and SPRING.PRT.
2. Right-click one of the selected parts and select > to change the part type to Spring. The CTI Value changes to 0.
The CTI value of a part having part type as Spring, Screw, or Convex Hull is 0. |
3. From the In Graphics toolbar, click  and select saved view 1. This changes the orientation of the assembly.
 and select saved view 1. This changes the orientation of the assembly.
4. In the graphics window, select KLEMMSCHRAUBE.PRT and SCREW_GB_T_13806_1-1992_A_M2_5_.PRT as shown in the figure.
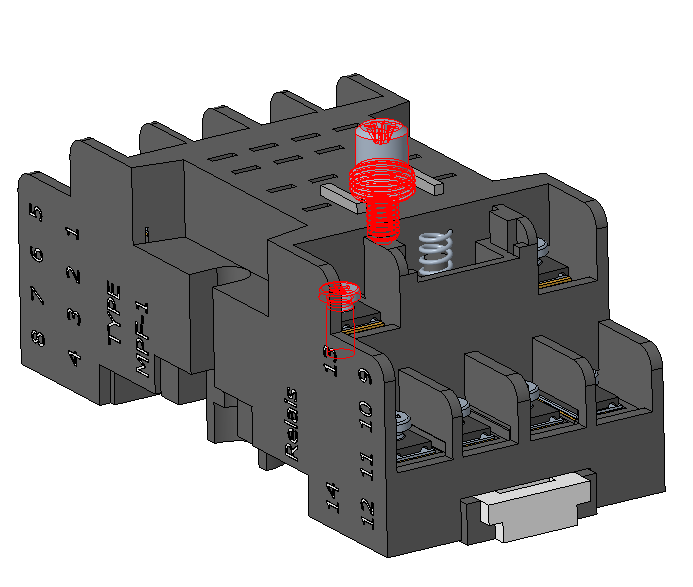
5. Right-click one of the selected parts and select > .
6. Click Apply Meta Data. The Meta Data tab closes and the Electric Nets tab opens.
To Modify Meta Data
In the Meta Data tab, You can modify the meta data values after you apply meta data.
1. Click > . You are prompted to confirm that you want to modify the data.
2. Click Yes.
3. In the Part list, select CB_PLATE.
4. Change the CTI value of CB_PLATE to 0.
5. Click Apply Meta Data. The Meta Data tab closes and the Electric Nets tab opens.
 Clearance and Creepage
 Parameters