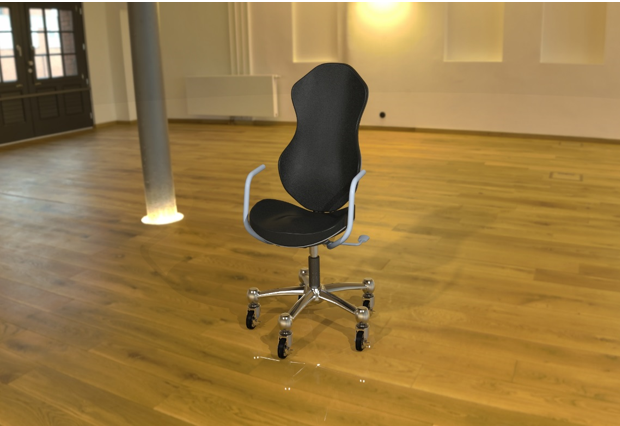
Exercise 4—Saving the Rendered Image
After you finish creating your image that you want to render, it is time to save it as a final product.
1. If your model from Exercise 3 is still open, go to step 5, otherwise, go to step 2.
2. Open chair.asm. This is the model that you saved after completing Exercise 3.
3. To begin rendering, click > . The Render Studio tab opens in the ribbon and rendering begins.
4. Click  Perspective View to change the display from orthographic to perspective. This puts the part in the correct perspective before editing the scene.
 Perspective View to change the display from orthographic to perspective. This puts the part in the correct perspective before editing the scene.
5. Click  Render. The Render dialog box opens.
 Render. The Render dialog box opens.
6. Click Browse. The Save render dialog box opens.
7. Browse to the directory in which you want to save your rendered image and click Save. The Save render dialog box closes. The path appears in the File Name box in the Render dialog box.
8. In the Render dialog box, perform the actions listed below
◦ For Format, select JPEG and for Resolution select the highest resolution in the list.
◦ Select Maximum Samples and Use Real-Time Settings.
◦ Move the Samples slider to 256.
9. Click Render. A status bar indicating the progress of rendering opens. Your image is rendered and saved to the directory that you selected.

Congratulations! You have completed the Creo Render Studio Beginner tutorial.