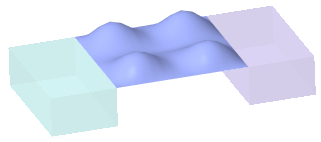
To Create a Boundary Blend in Two Directions
1. Click >  Boundary Blend. The Boundary Blend tab opens.
Boundary Blend. The Boundary Blend tab opens.2. To create a blend in the first direction:
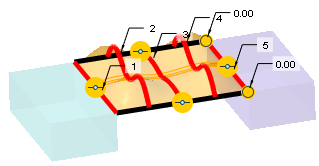
a. Click the  1st direction collector, and select a curve or edge chain.
1st direction collector, and select a curve or edge chain.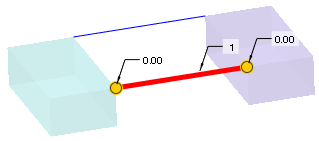
To open the Chain dialog box to help you select curves, click the Curves tab, and click Details. |
b. Hold down CTRL while you select at least one more curve or edge chain in the first direction.
For the chains to connect in the correct sequence, you must select the references in the order they should be connected.
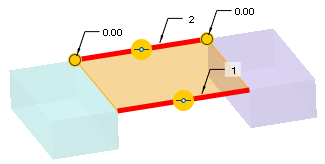
c. If you need to change the sequence of a chain, click the Curves tab, select the chain under the desired direction, and click  to move the chain up the sequence, or
 to move it down the sequence.
3. To create a blend in the second direction:
a. Click the  2nd direction collector, and select a curve or edge chain.
2nd direction collector, and select a curve or edge chain.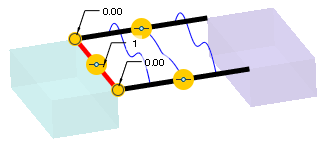
b. Hold down CTRL while you select at least one more curve or edge chain in the second direction.
The same details listed for the first direction also apply to the second direction.
4. Click  OK.
OK.
OK.