Example: Adjusting Feature Boundaries
The reference model in this example contains two superimposed slots that you want to machine as three separate Slot features. To create the Slot features, you will have to adjust feature boundaries.
Create the first Slot feature:
1. Select the bottom of the slot (1) as the Floor surface. The system creates a Slot feature as shown in the following illustration.
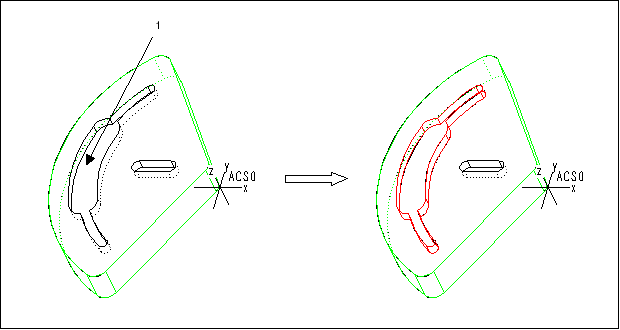
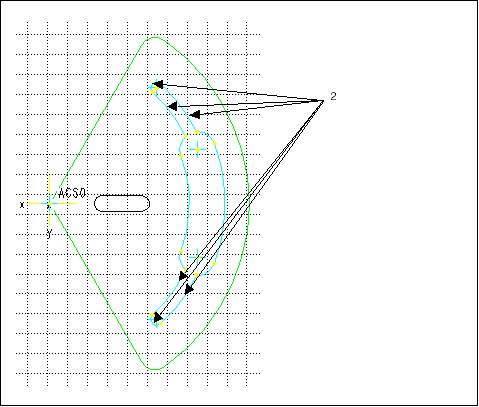
2. Click  to adjust feature boundaries. The system reorients the model and displays the Sketcher grid. All the feature walls become Sketcher entities; they are displayed in cyan, with vertices highlighted in yellow. Delete the entities (2) corresponding to the walls of the thin slot, as shown below.
 to adjust feature boundaries. The system reorients the model and displays the Sketcher grid. All the feature walls become Sketcher entities; they are displayed in cyan, with vertices highlighted in yellow. Delete the entities (2) corresponding to the walls of the thin slot, as shown below.
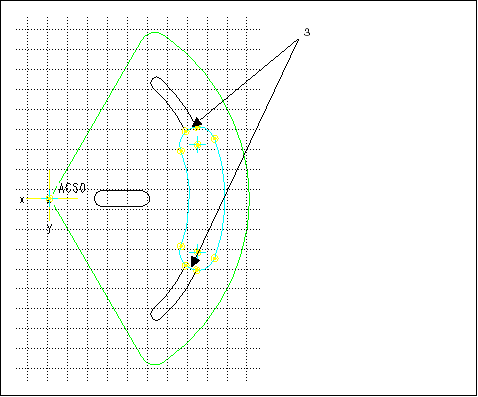
3. Sketch two Tangent End arcs (3) to close the contour, as shown below.
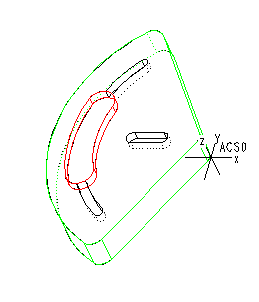
4. On the SKETCHER menu, click Done
The system creates a Slot feature as shown in the next illustration. The Hard Walls are highlighted in red.
To machine the thin slot, create two more Slot features, each with one Soft Wall:
1. Create the second Slot feature. Select the same surface (1) — the bottom of the slot — as the Floor surface. The system creates the Slot feature consisting of two contours left after the first Slot, each with a Soft Wall, as shown in the next illustration.
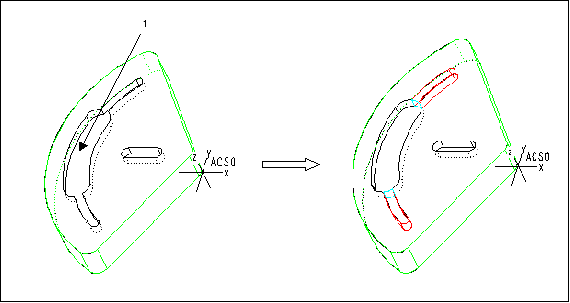
2. Click  to adjust feature boundaries, and delete the entities corresponding to one of the contours.
 to adjust feature boundaries, and delete the entities corresponding to one of the contours.
The system creates a Slot feature as shown in the next illustration. The Hard Walls are highlighted in red, the Soft Wall in cyan.
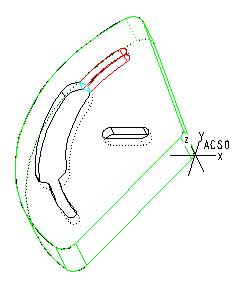
3. Create the third Slot feature. Select the same surface (the bottom of the slot) as the Floor surface. The system creates the Slot feature, with a Soft Wall, containing the material left after creating the first two Slot features.